This guide will walk you through the process of generating API keys, authenticating your Stripe account in HIPAAtizer, and adding the Stripe Payment Element to your form.
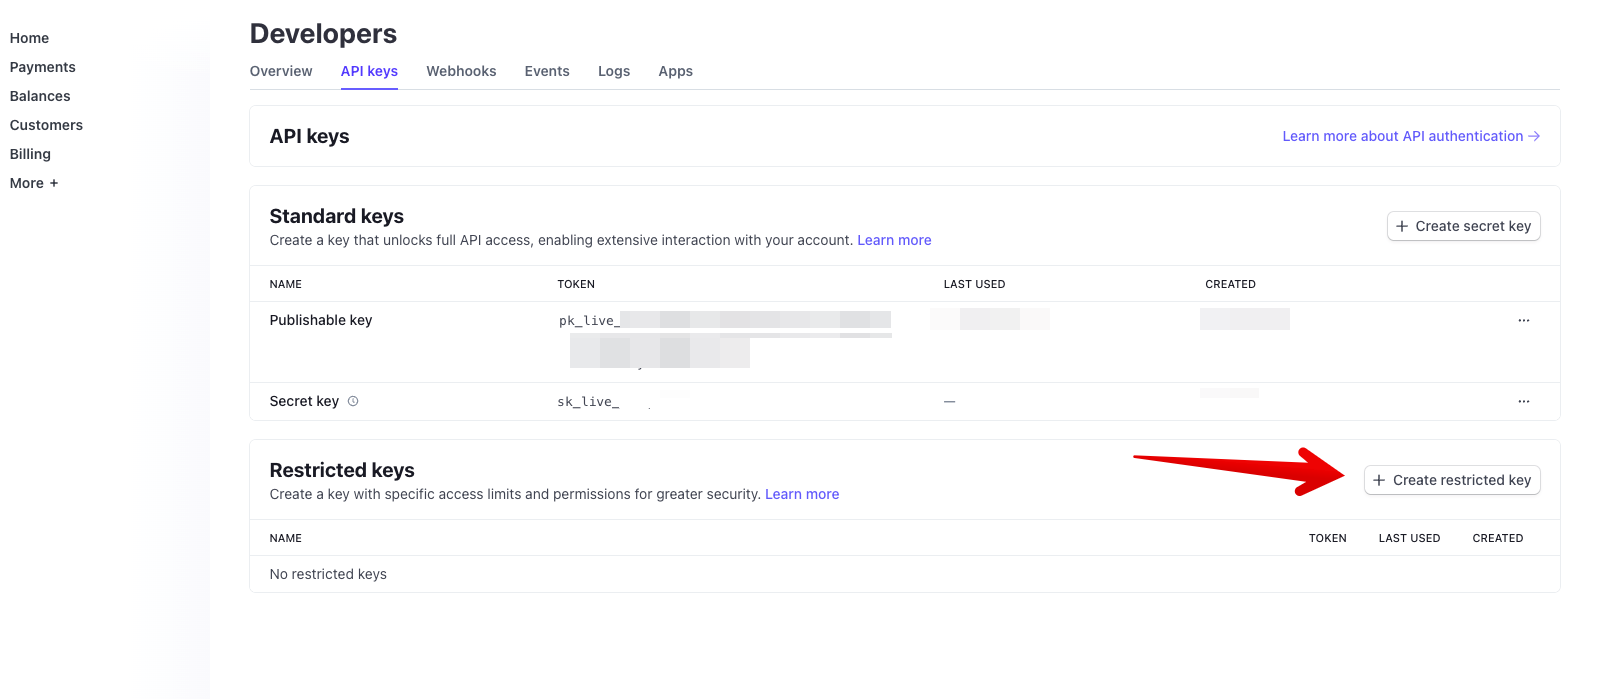
Step 1. Create a Restricted Key in the Stripe Dashboard.
To create a Restricted Key, navigate to your Stripe Dashboard and access the API Keys section by clicking on the ‘API Keys’ tab found at the top of the page.
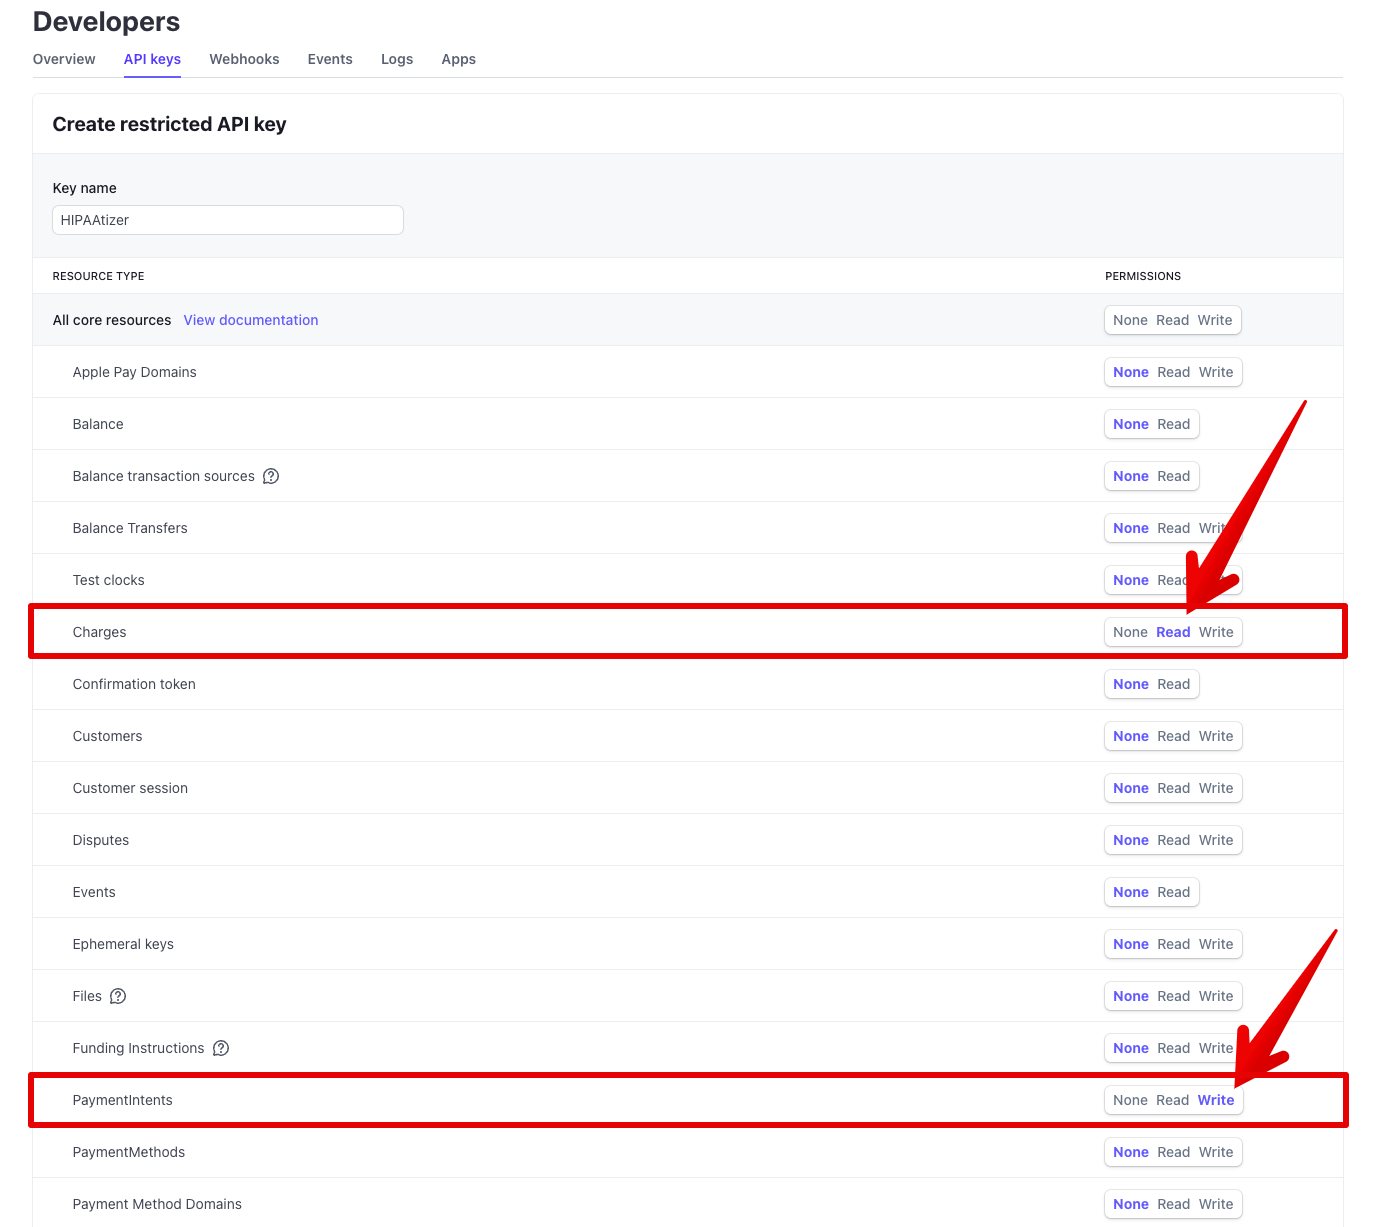
Next, generate a restricted API key that begins with “rk_” and assign the following permissions:
- PaymentIntents: Write
- Charges: Read
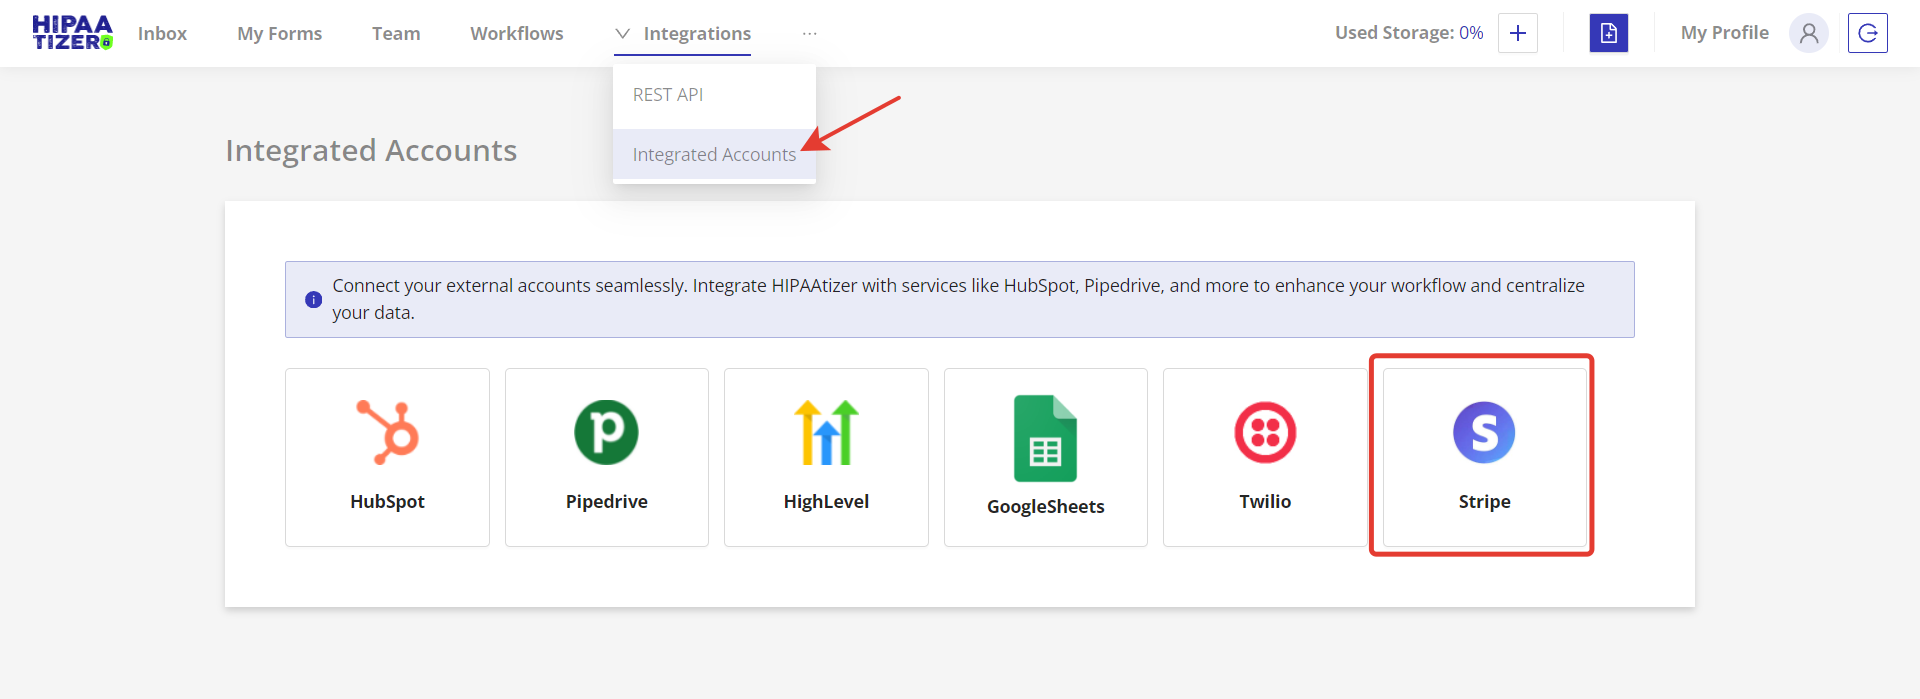
Step 2. Authenticate Your Stripe Account in HIPAAtizer
Go to the Integrations menu found at the top of the page, and click ‘Integrated Account’. Then, select ‘Stripe’ integration from the boxes below.
Enter the Restricted Key you created earlier.
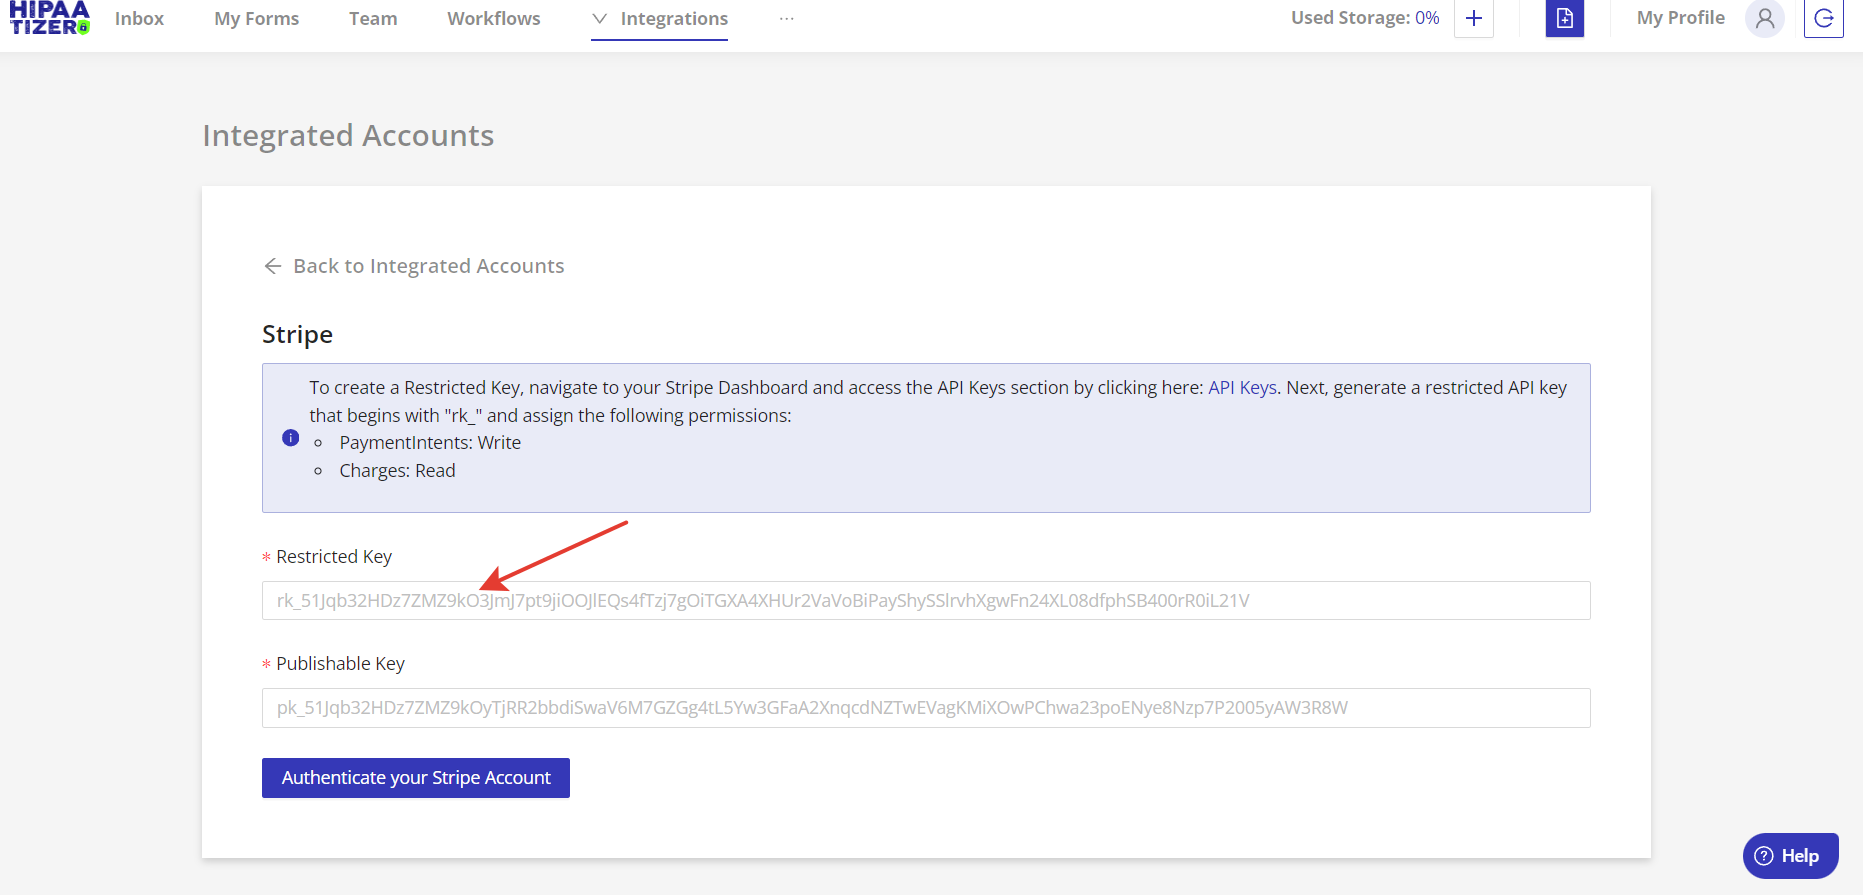
Next, retrieve your Publishable Key. It is available from your Stripe Dashboard here. Then, paste the Publishable Key in HIPAAtizer, as show in the screenshot below.
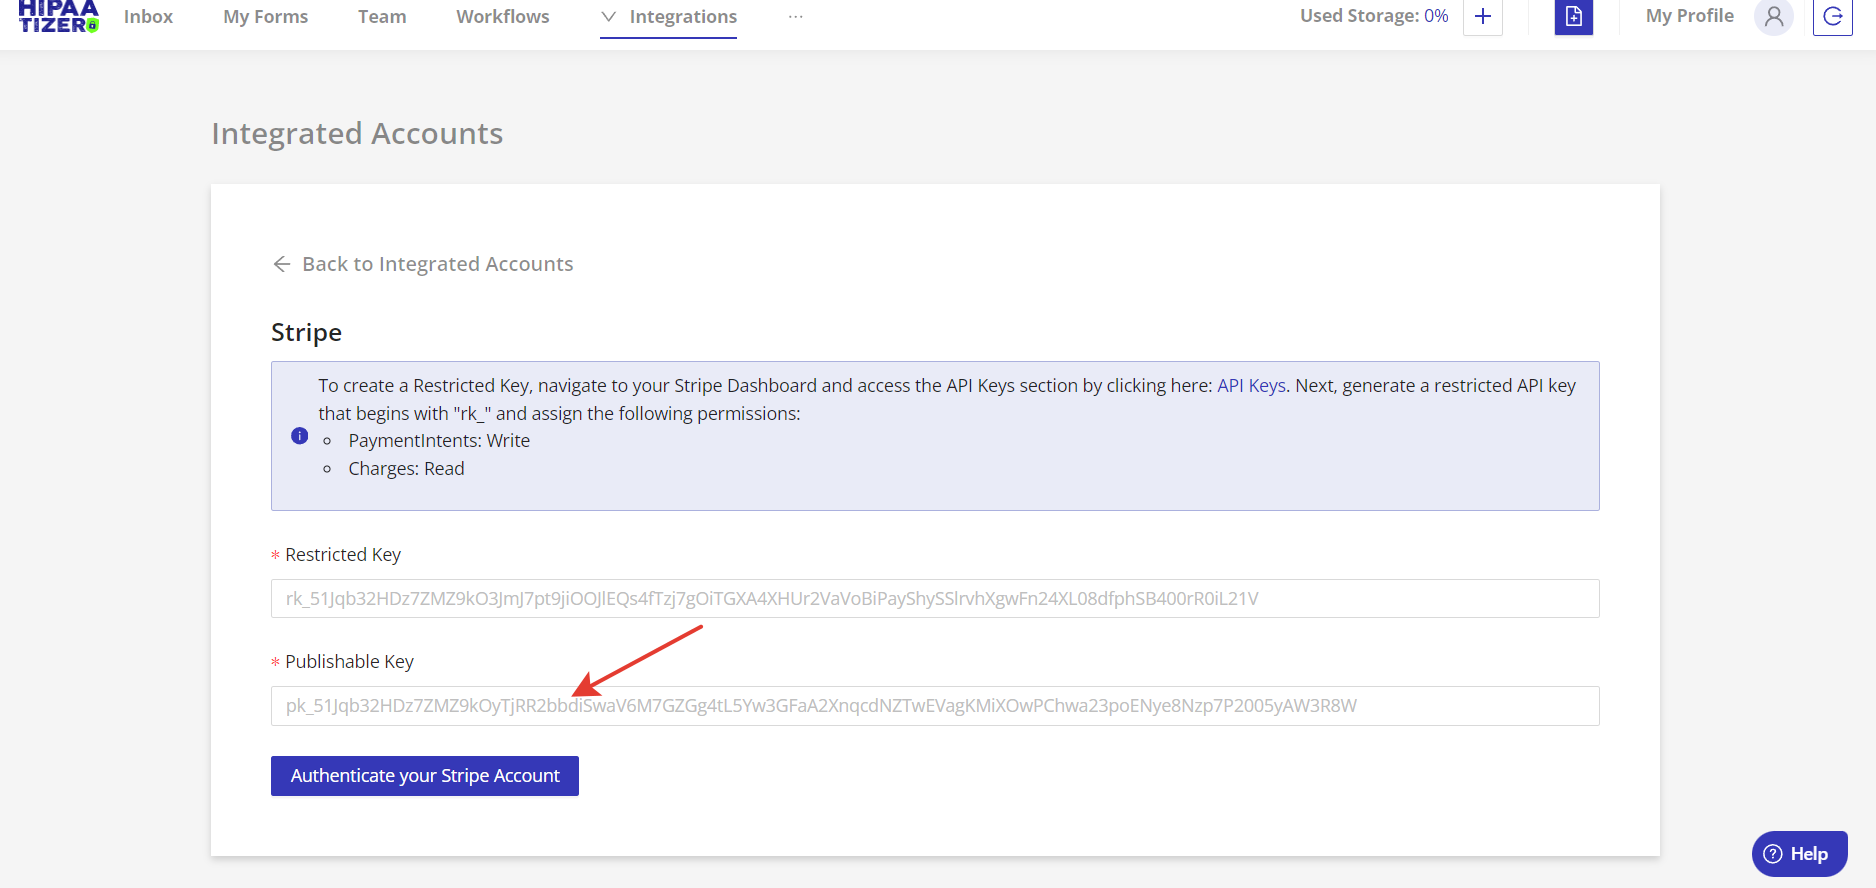
Click on the ‘Authenticate your Stripe Account’ button to add your account in HIPAAtizer.
Step 3. Add a Stripe Payment Element to Your Form
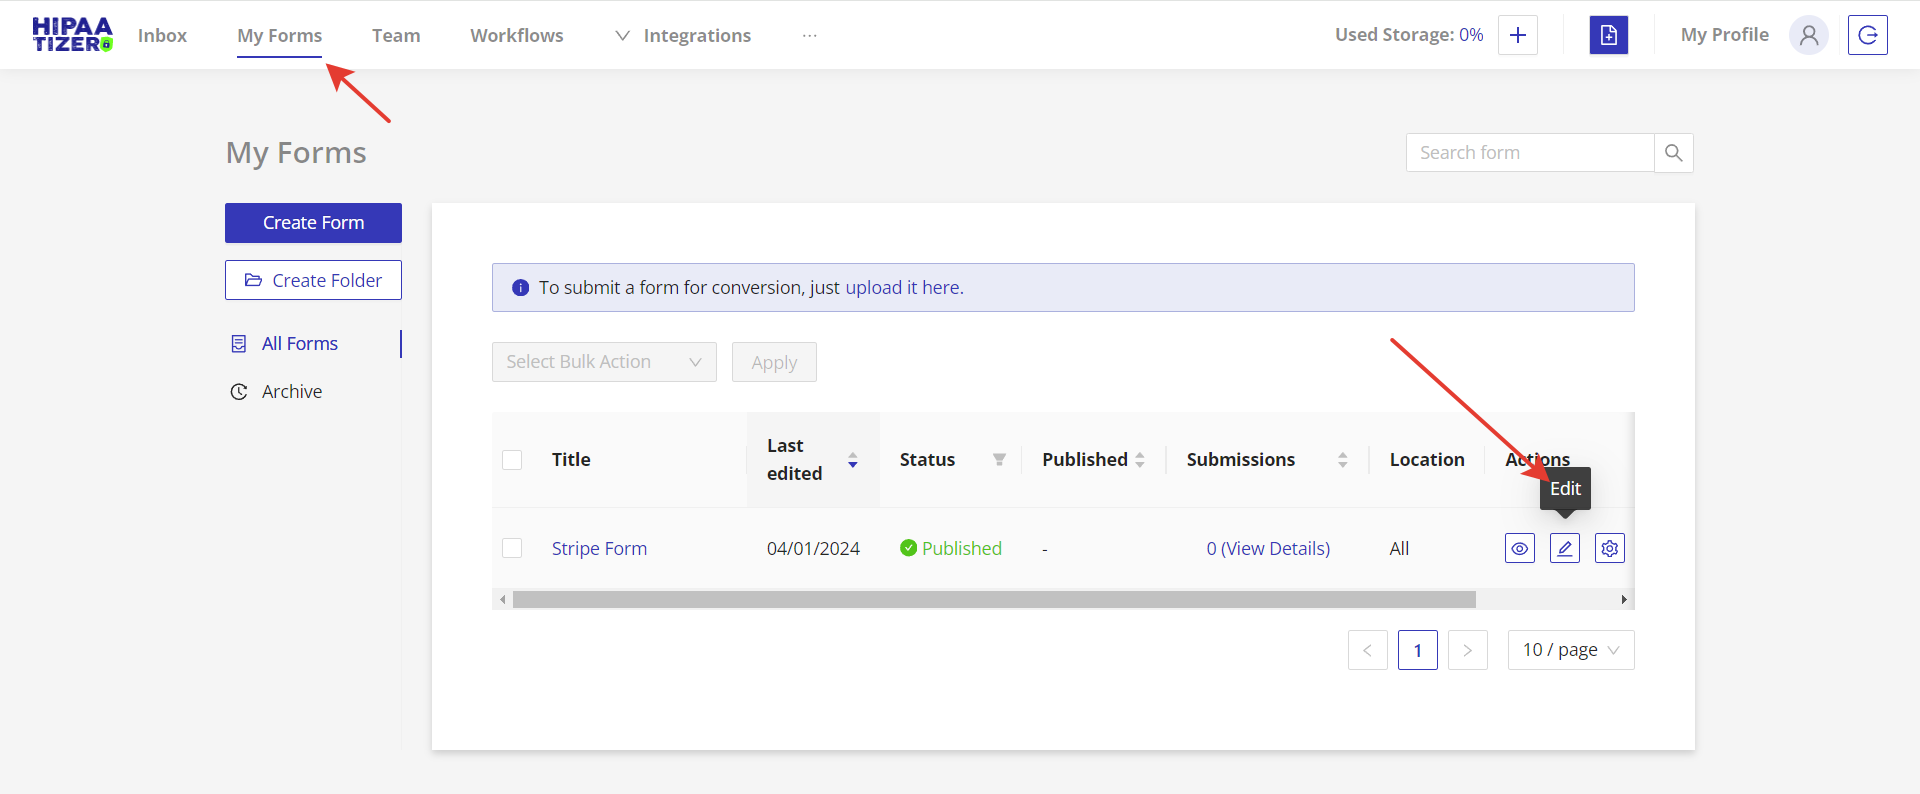
Go to the ‘My Forms’ tab found at the top of the page and click the ‘Edit’ icon of the form that you would like to add the Stripe Payment Element .
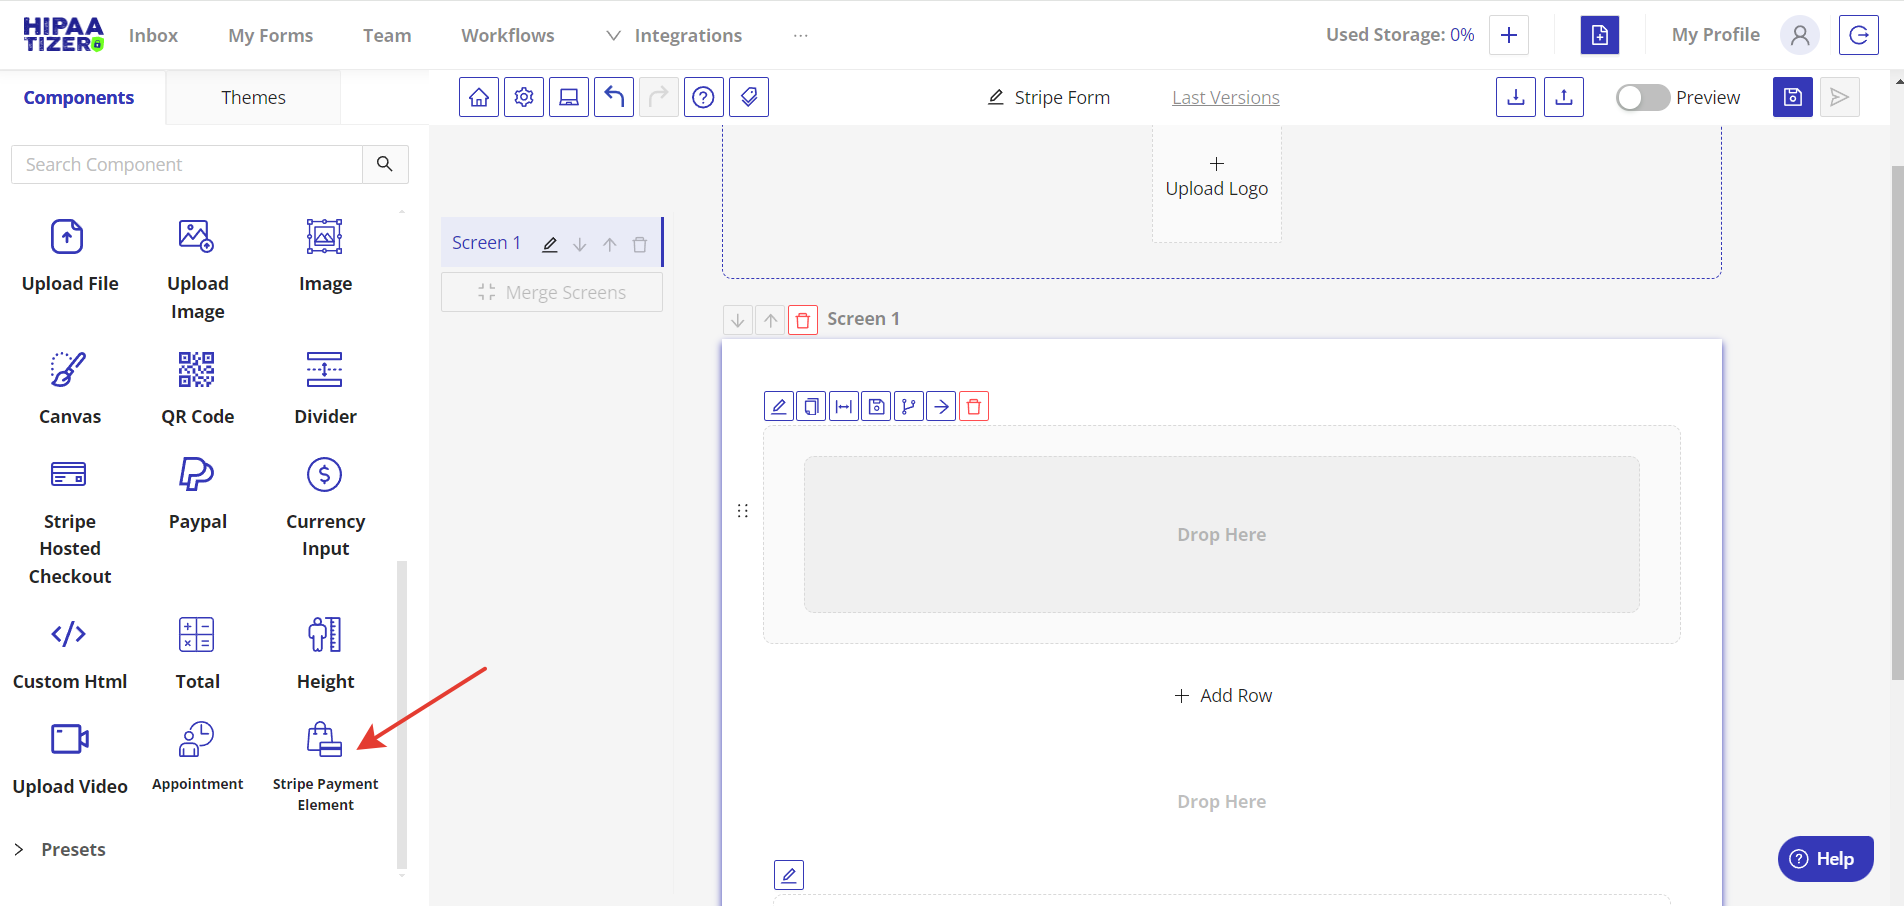
Drag and drop the Stripe Payment Element component onto your form.
Step 4. Set Up Products
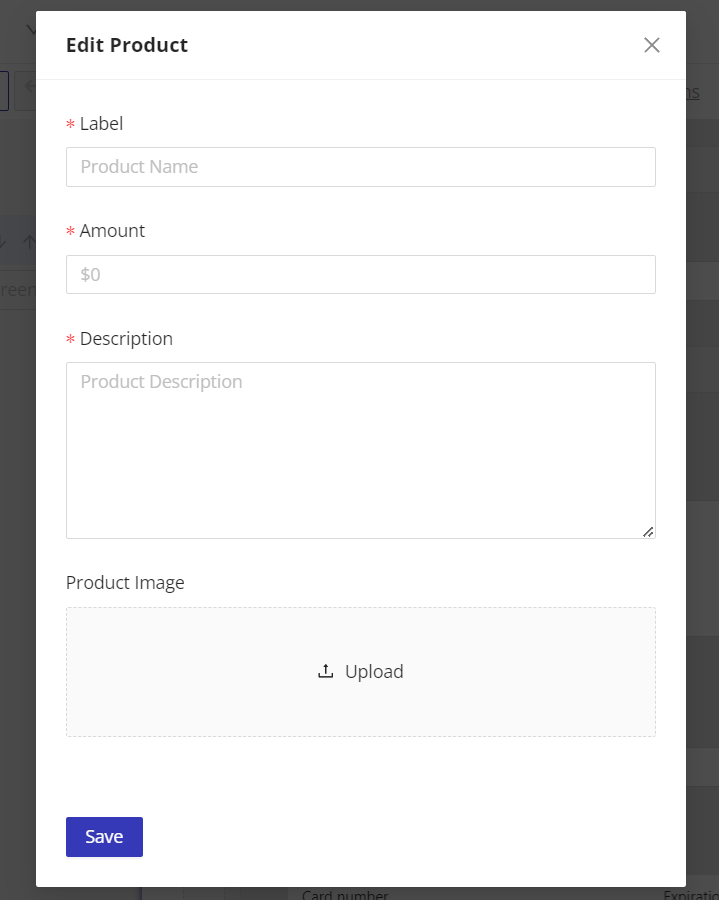
Add products by clicking the ‘Add Product’ button
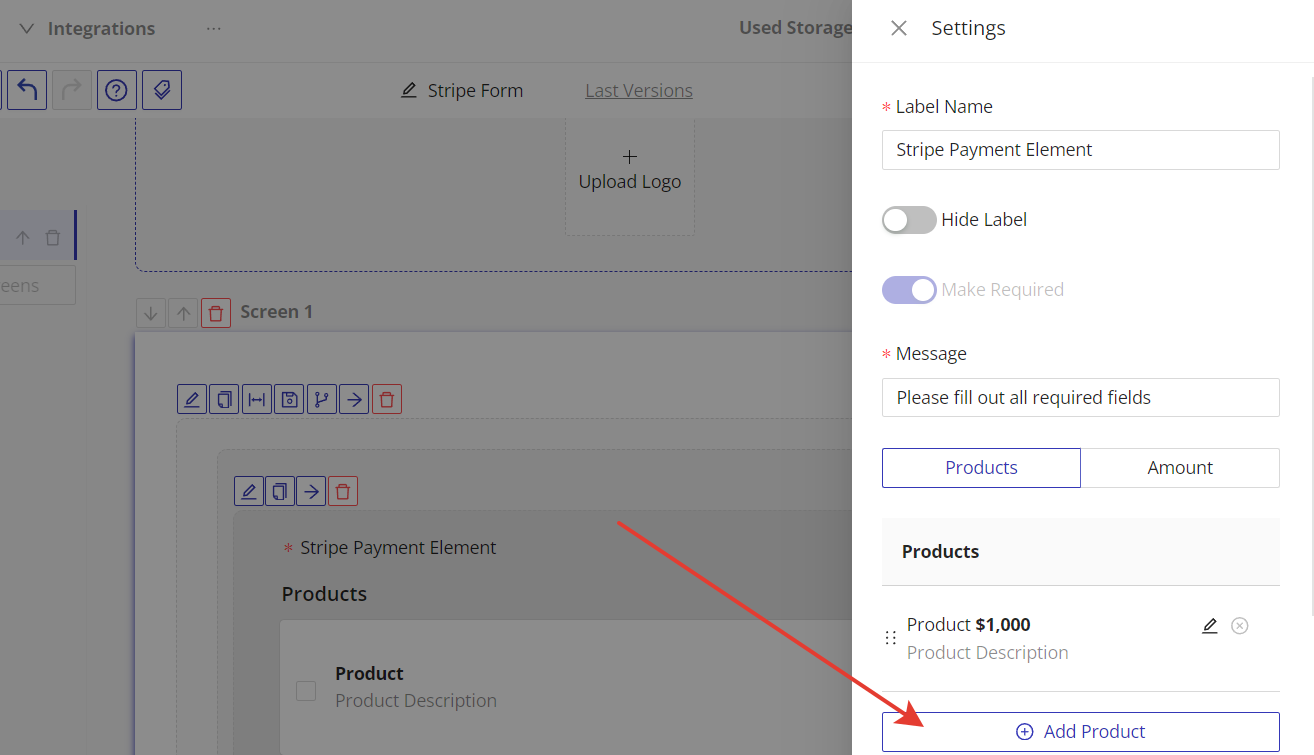
Enter product details such as the name, amount, description, and upload an image if needed.
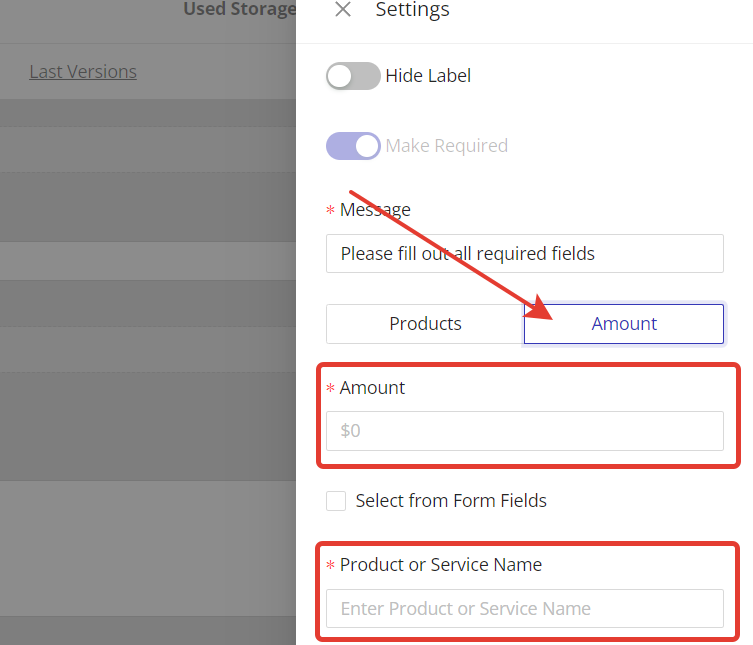
For a single product, enter the amount and name in the ‘Amount’ tab.
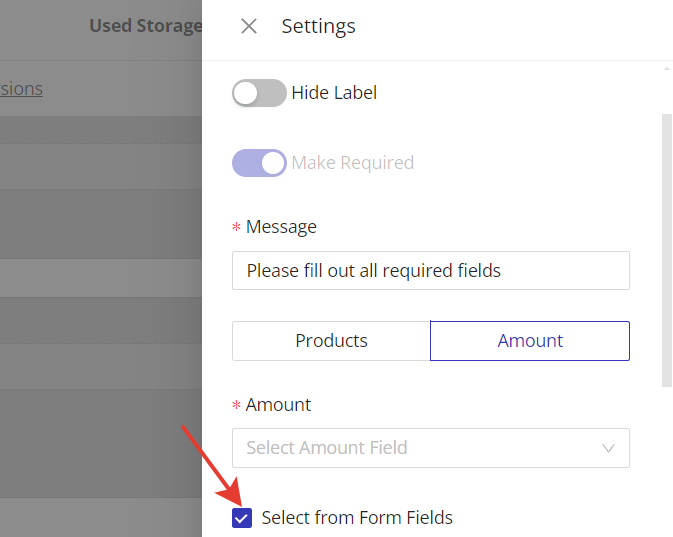
You can also automatically source an amount from the form field. Check ‘Select from Form Fields’ to select the form field with the amount.
Step 5. Set Up Receipt Submission (optional)
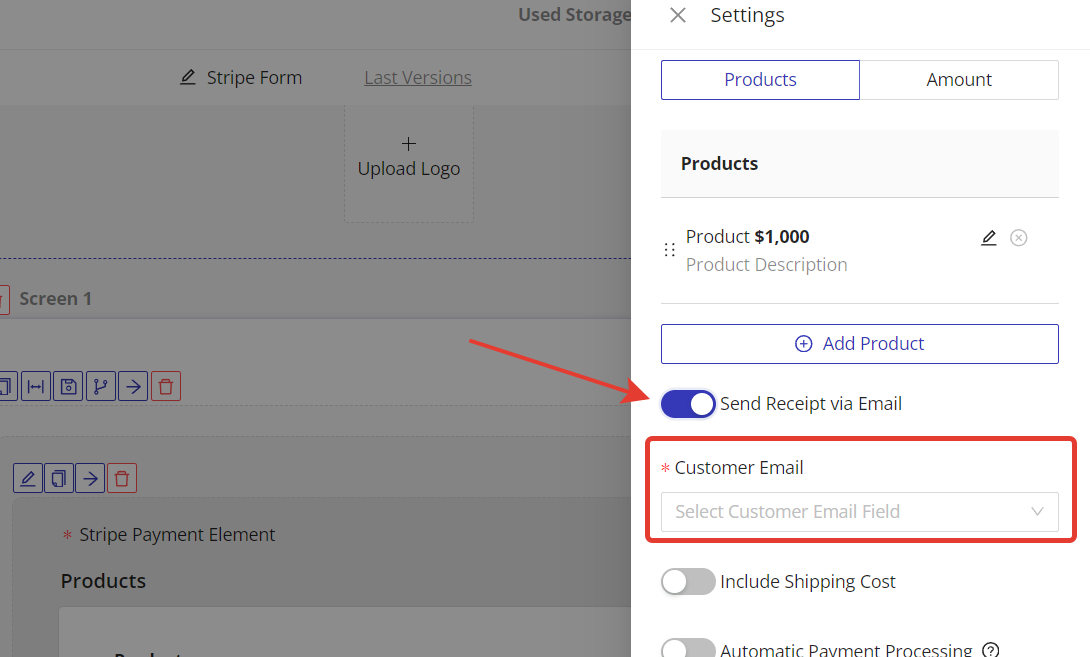
Enable ‘Send Receipt via Email’ and choose the customer email field.
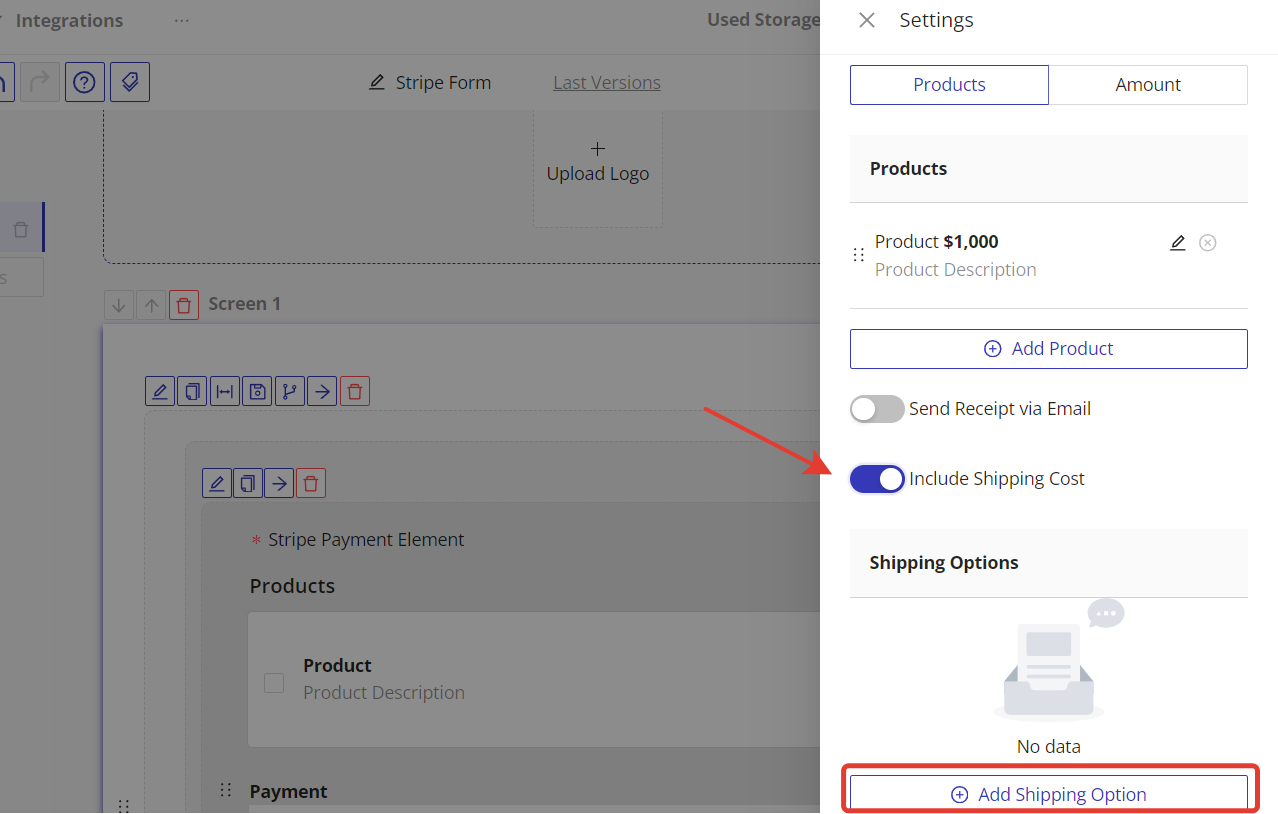
Step 6. Set Up Shipping (optional)
Ensure you have fields for customer first name, last name, and address.
Enable ‘Include Shipping Cost’ and add shipping options.
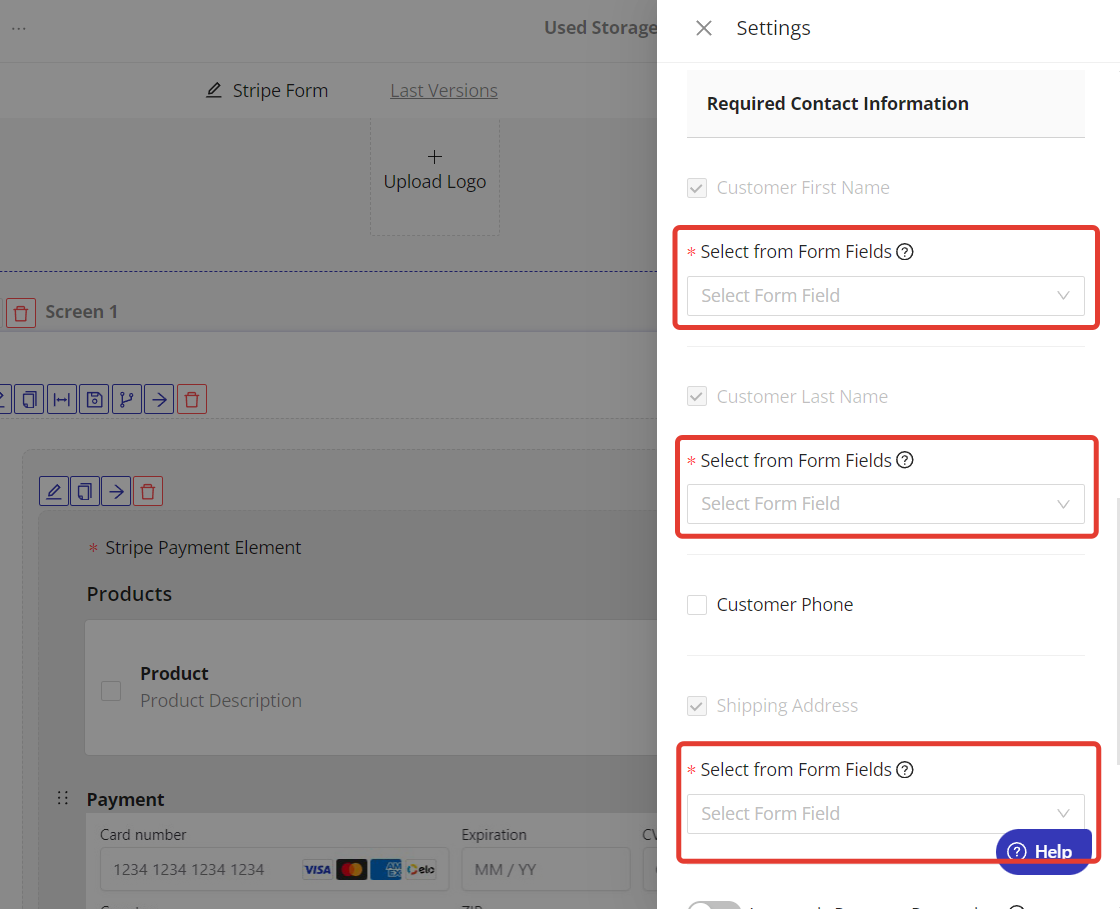
Configure the required contact information for shipping. Select the customer’s first name, last name, and address from the form fields.
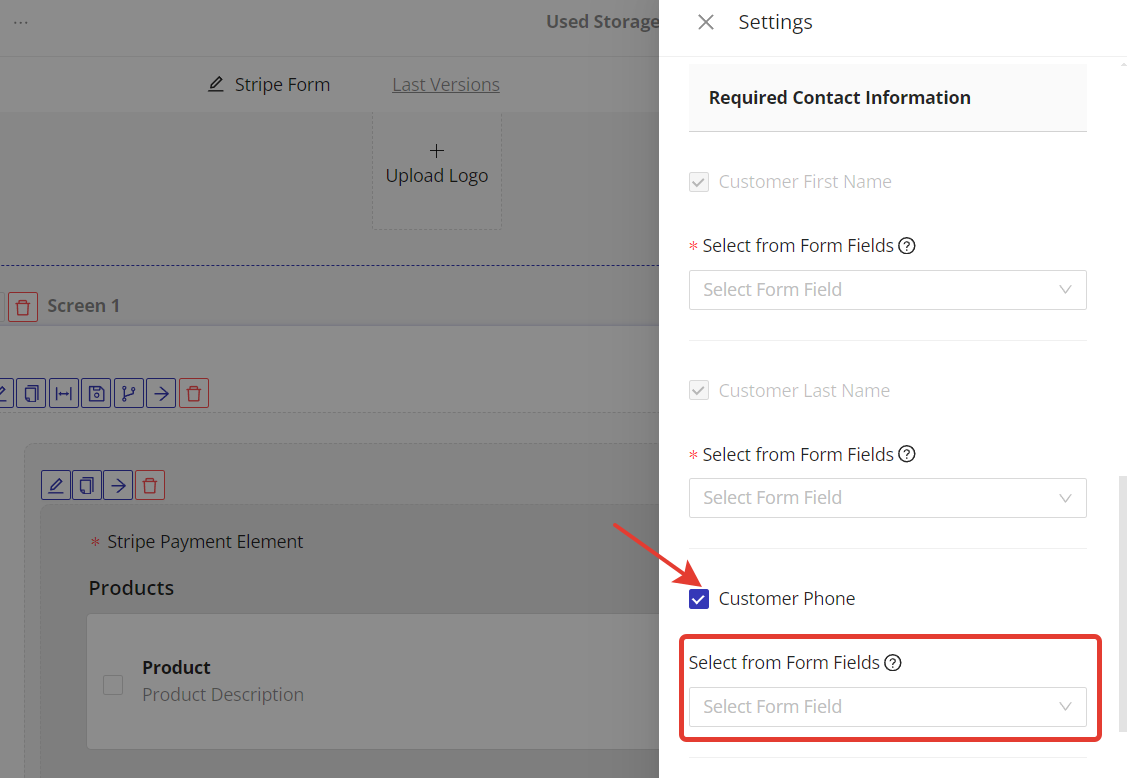
If necessary, select the ‘Customer Phone’ checkbox to include this field in the required contact information. Then, choose the customer’s phone number from the form fields.
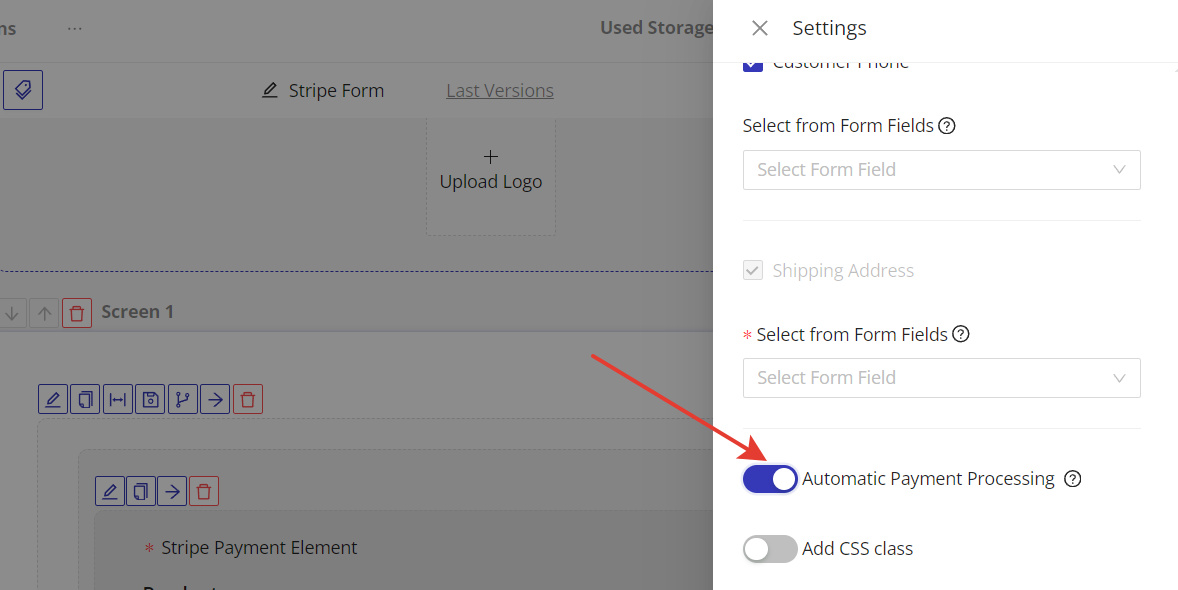
Step 7. Set Up Automatic Payment Processing (optional)
Enable to automatically process payments upon form submission, hiding the ‘Pay’ button.
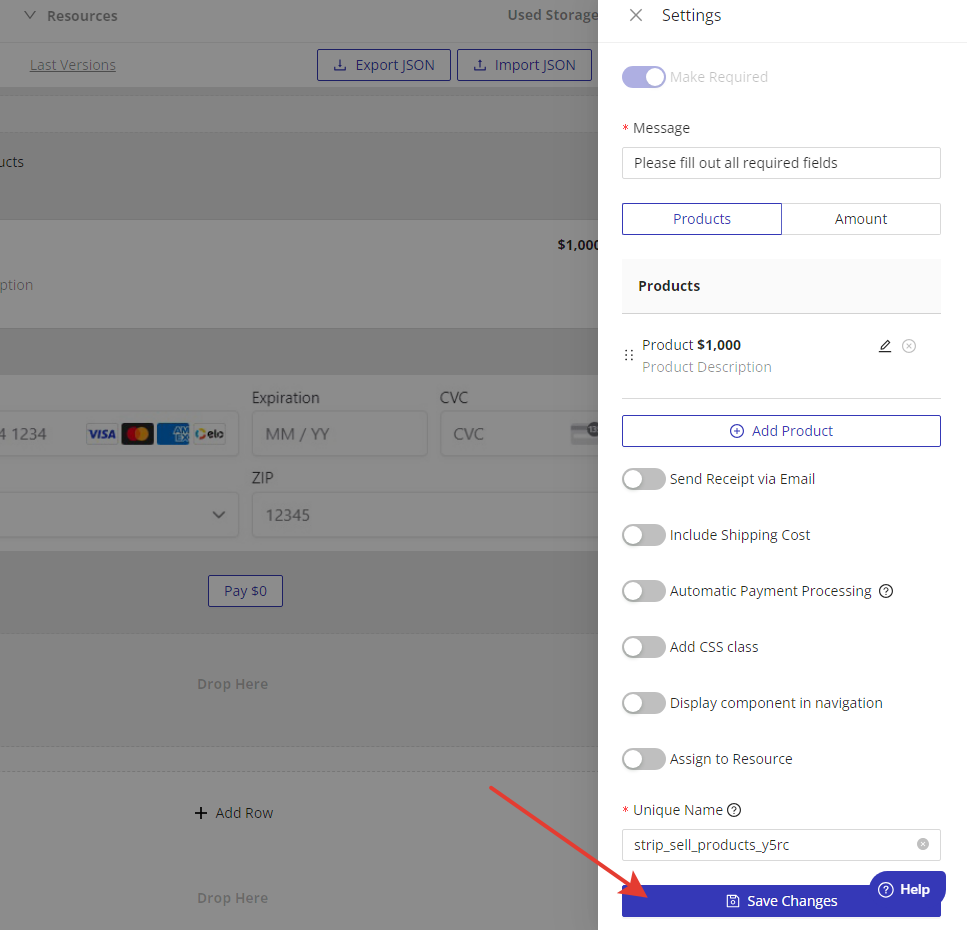
Step 8. Save your settings
Click on the ‘Save Changes’ button in the bottom of the Settings window.
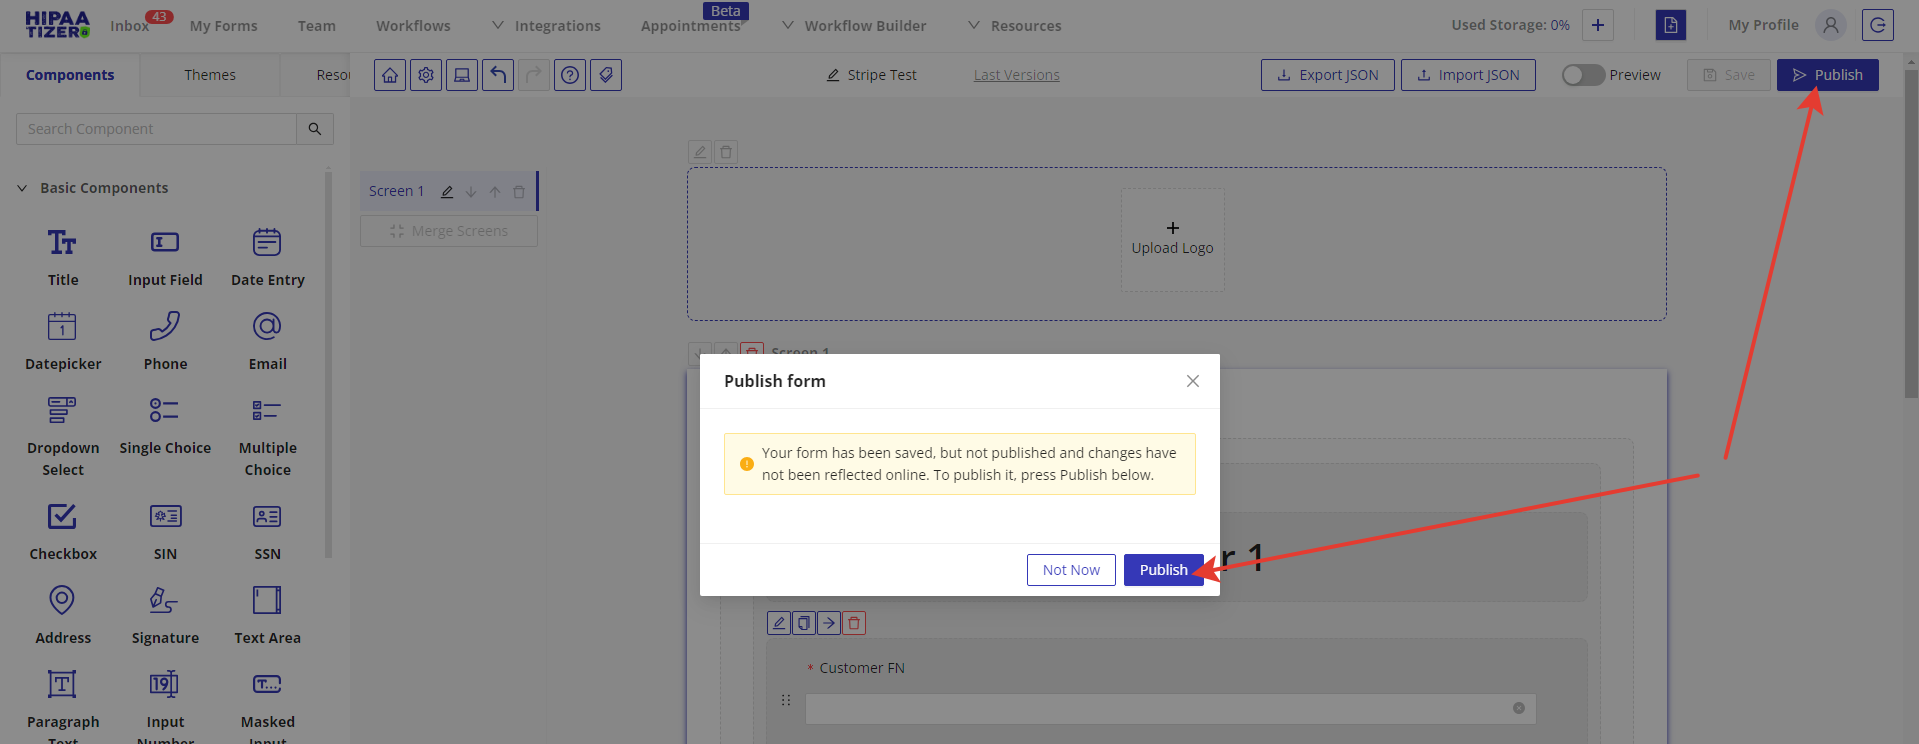
Step 9. Save and Publish your Form
Click on the ‘Save’ button to save your form.

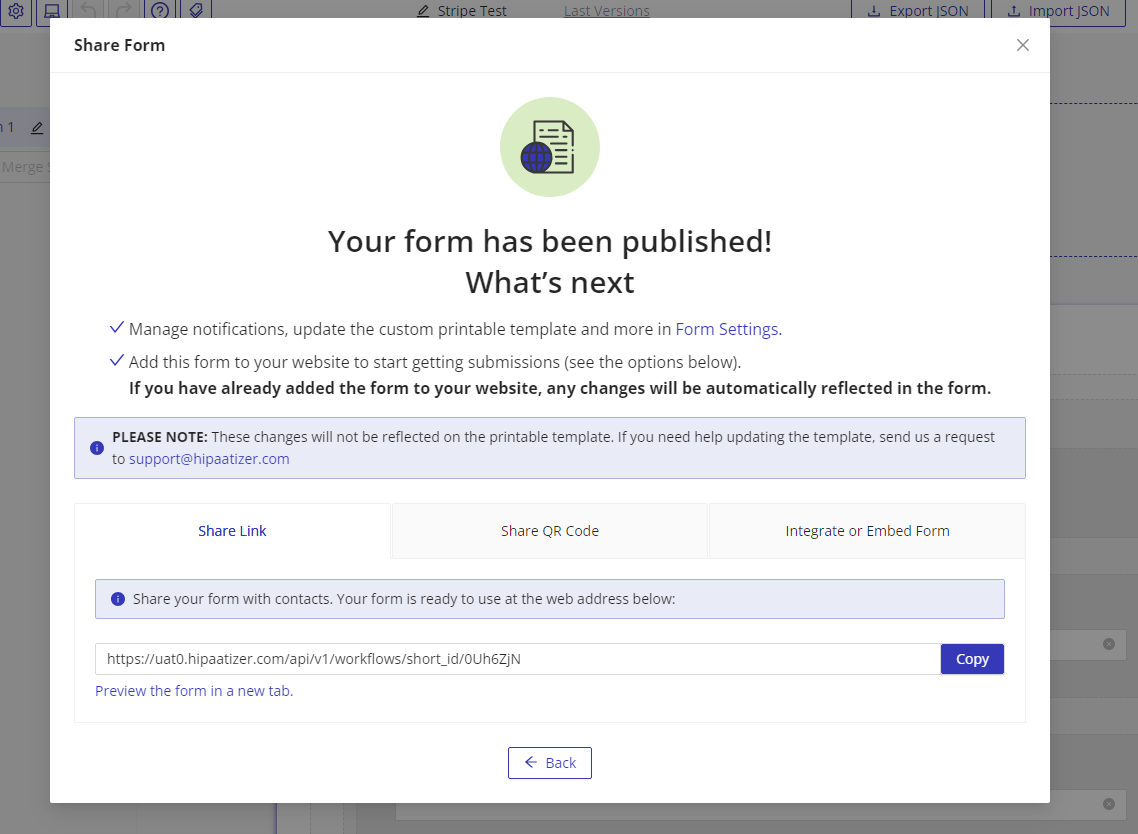
Then click on the ‘Publish’ button to get a link to the form that you can share with your customers, or to access the ‘Embed and Integration’ options.
Still have questions? Contact us