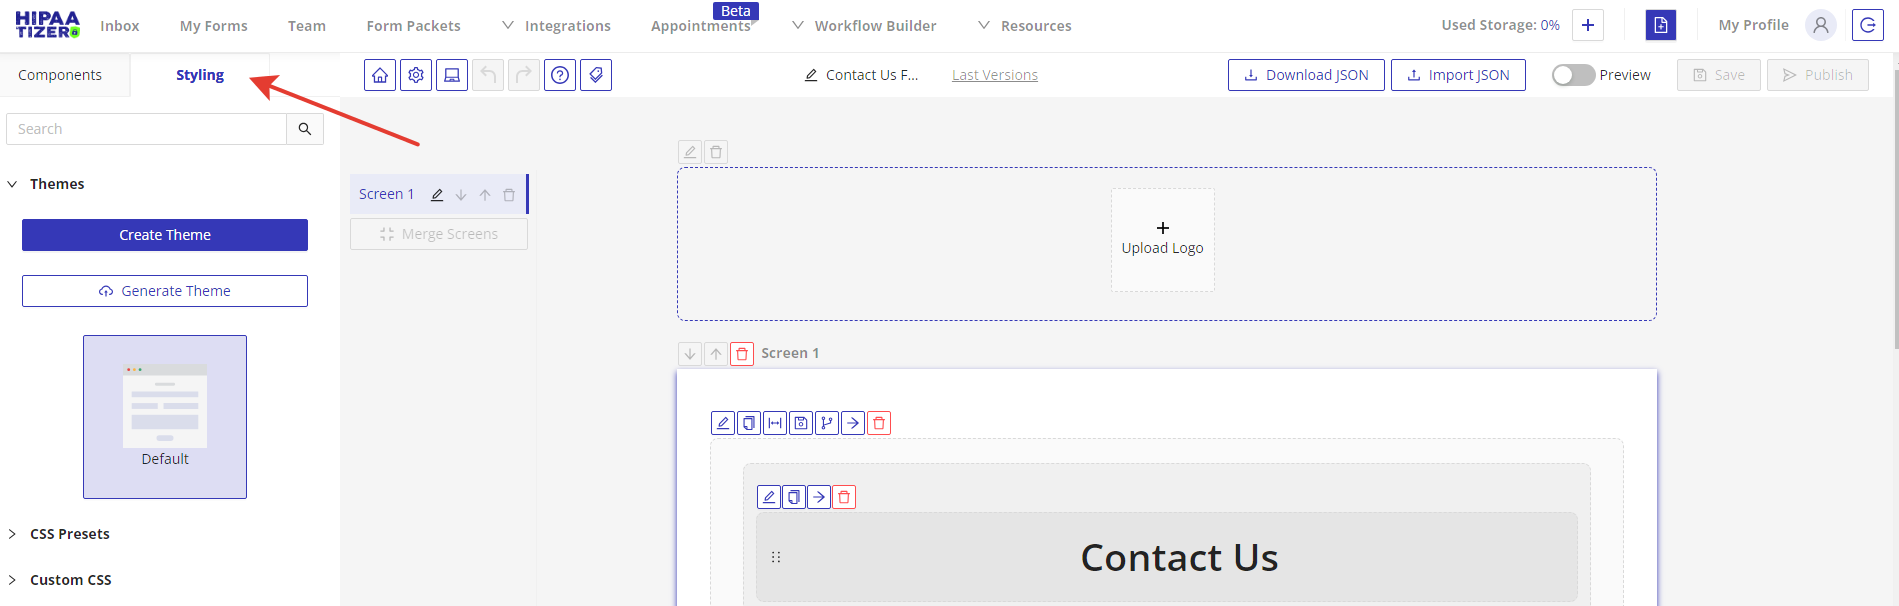
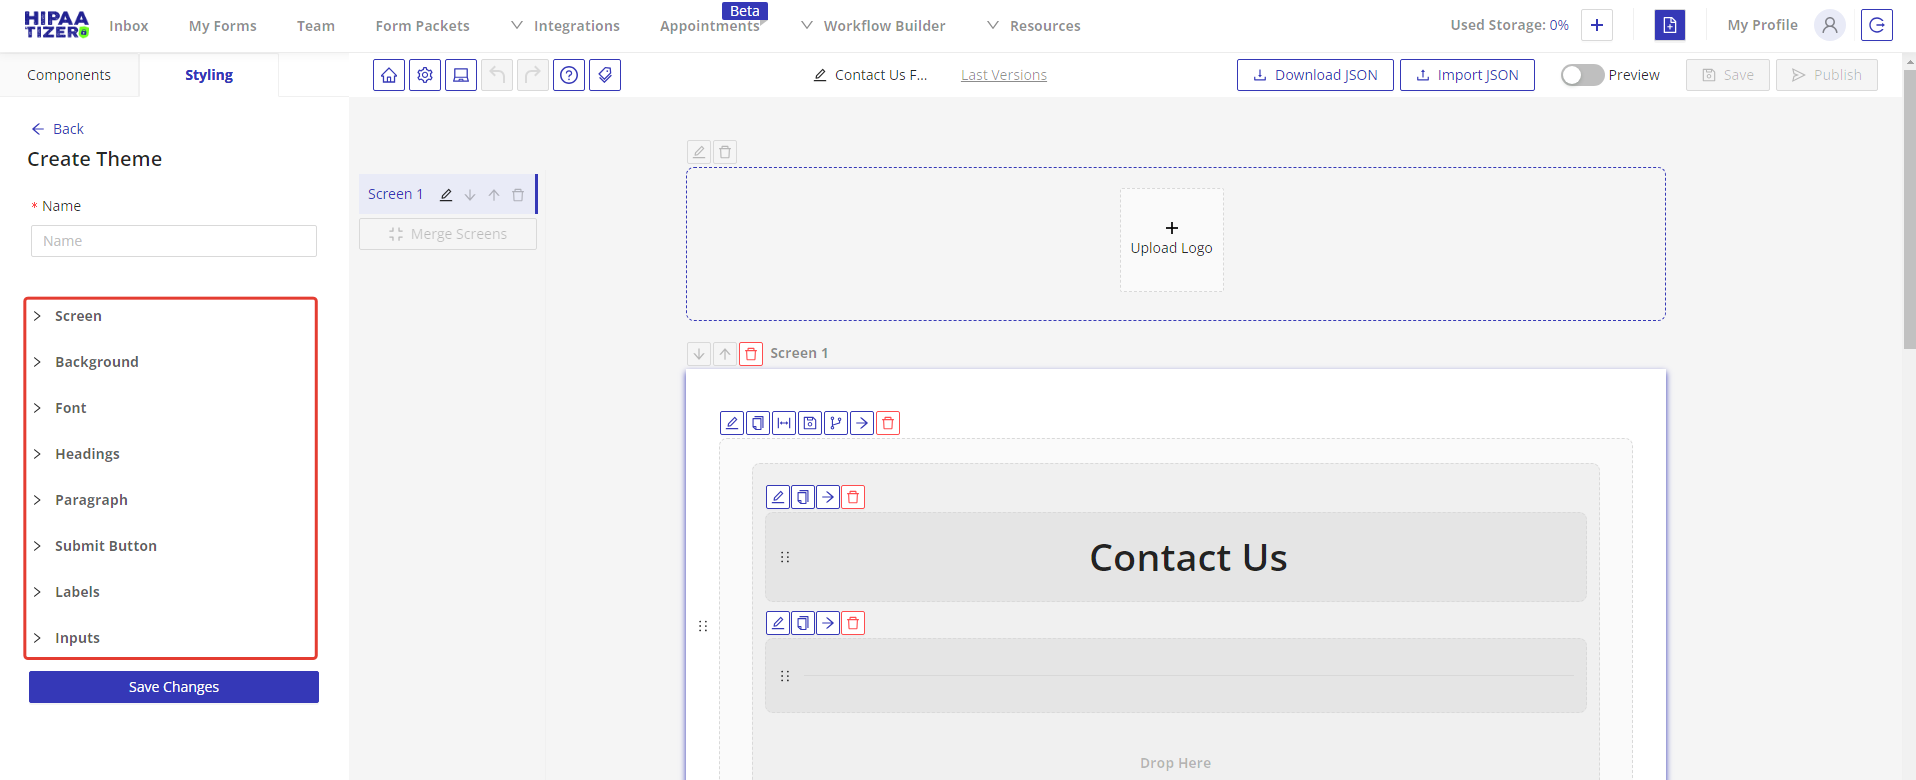
HIPAAtizer provides several options for styling your forms. You can find all the styling settings in the Styling tab, located in the left-hand navigation menu of the Form Builder.
1. Create a Theme
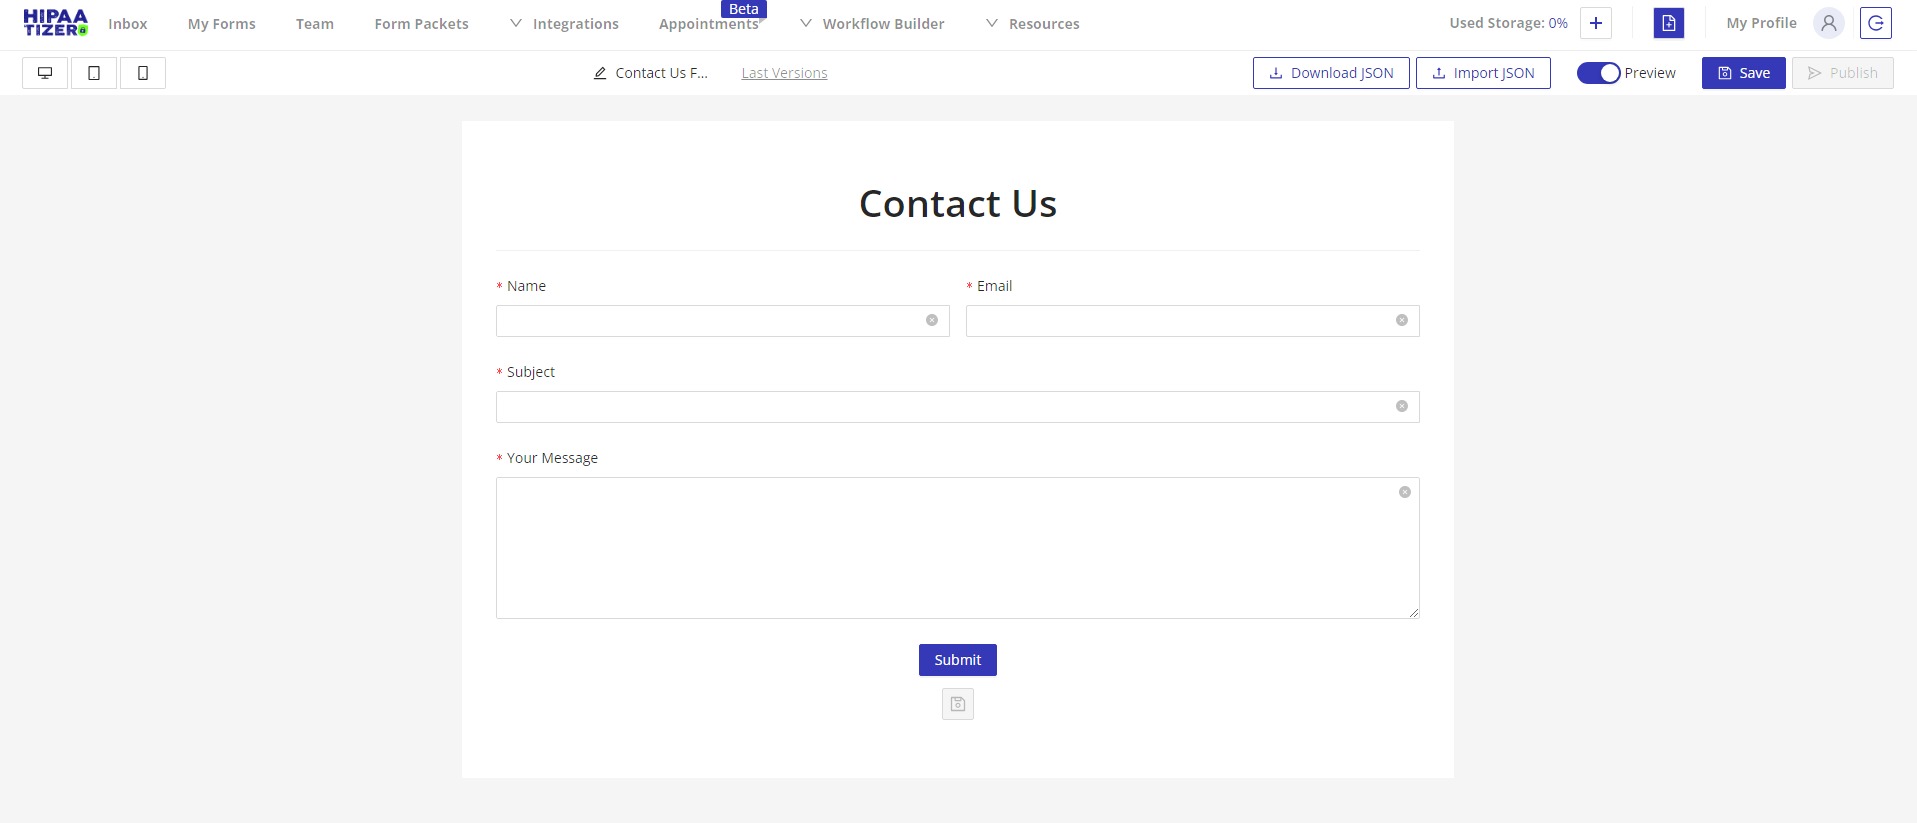
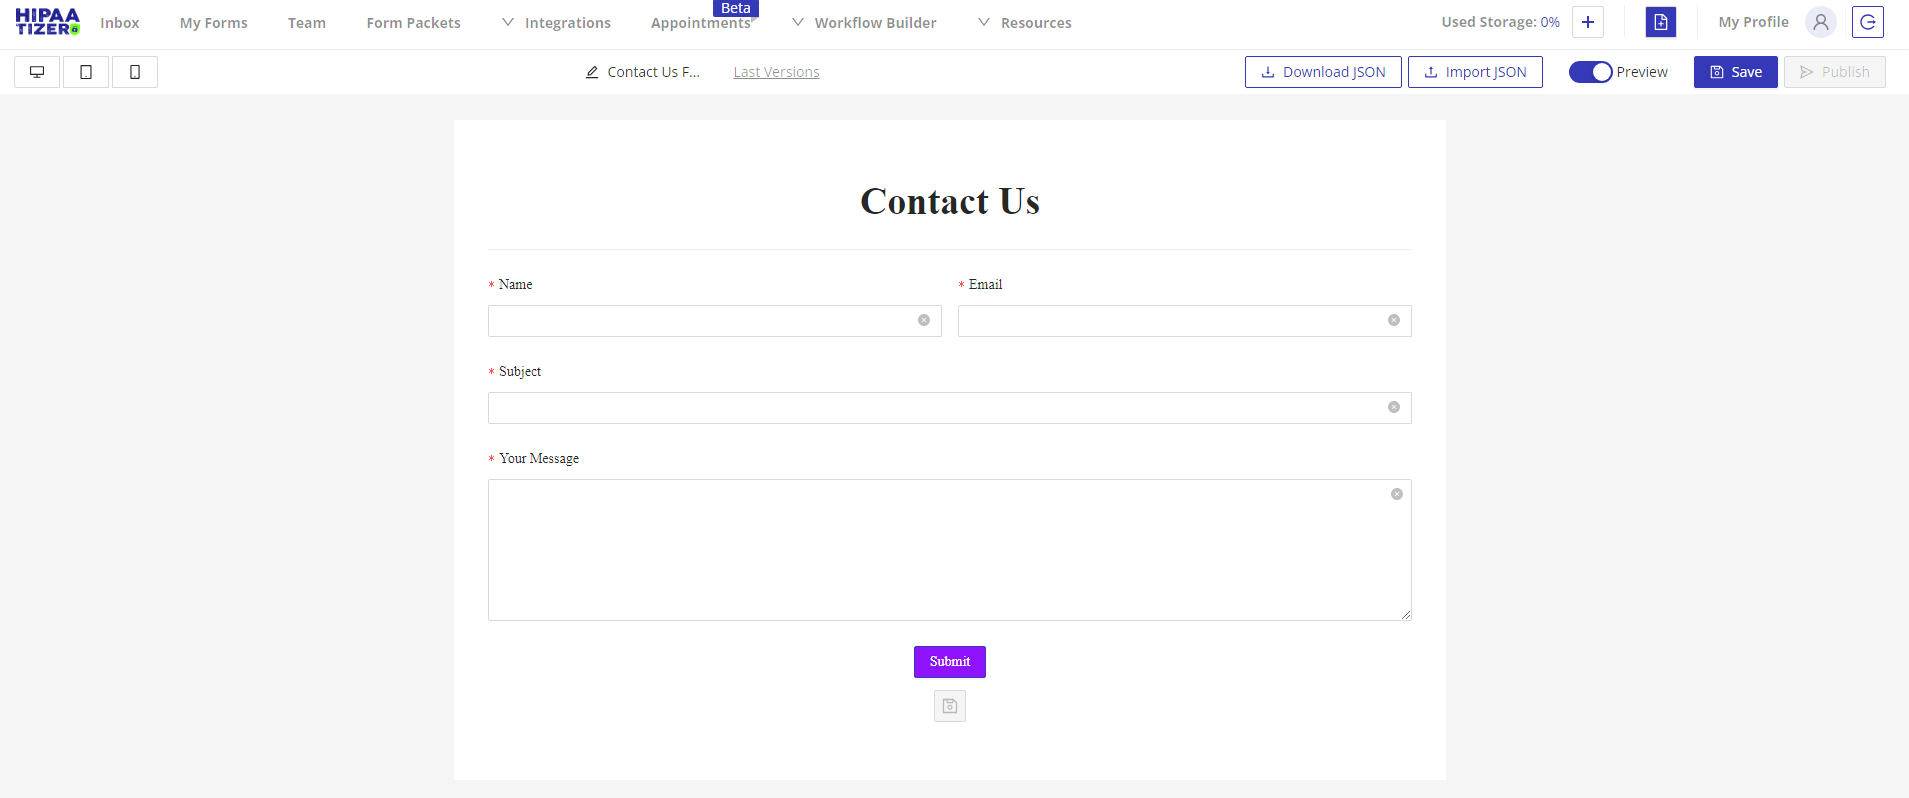
By default, the form theme is set to “Default,” but you can create your own theme and apply it across all your forms. Here’s how the form looks by default:
To create a theme, follow these steps:
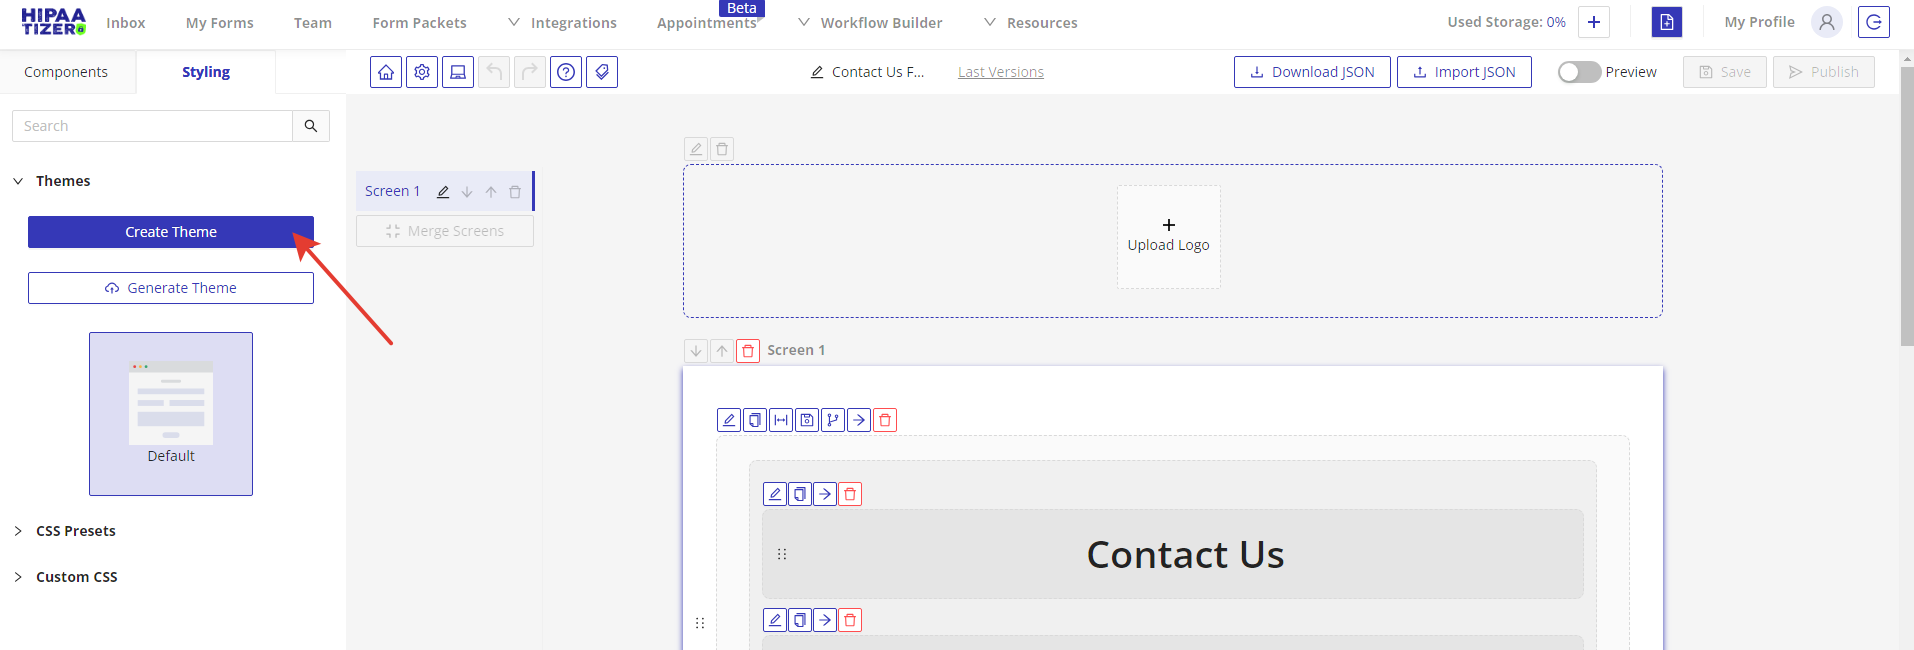
1.1. Click on the Create Theme button.
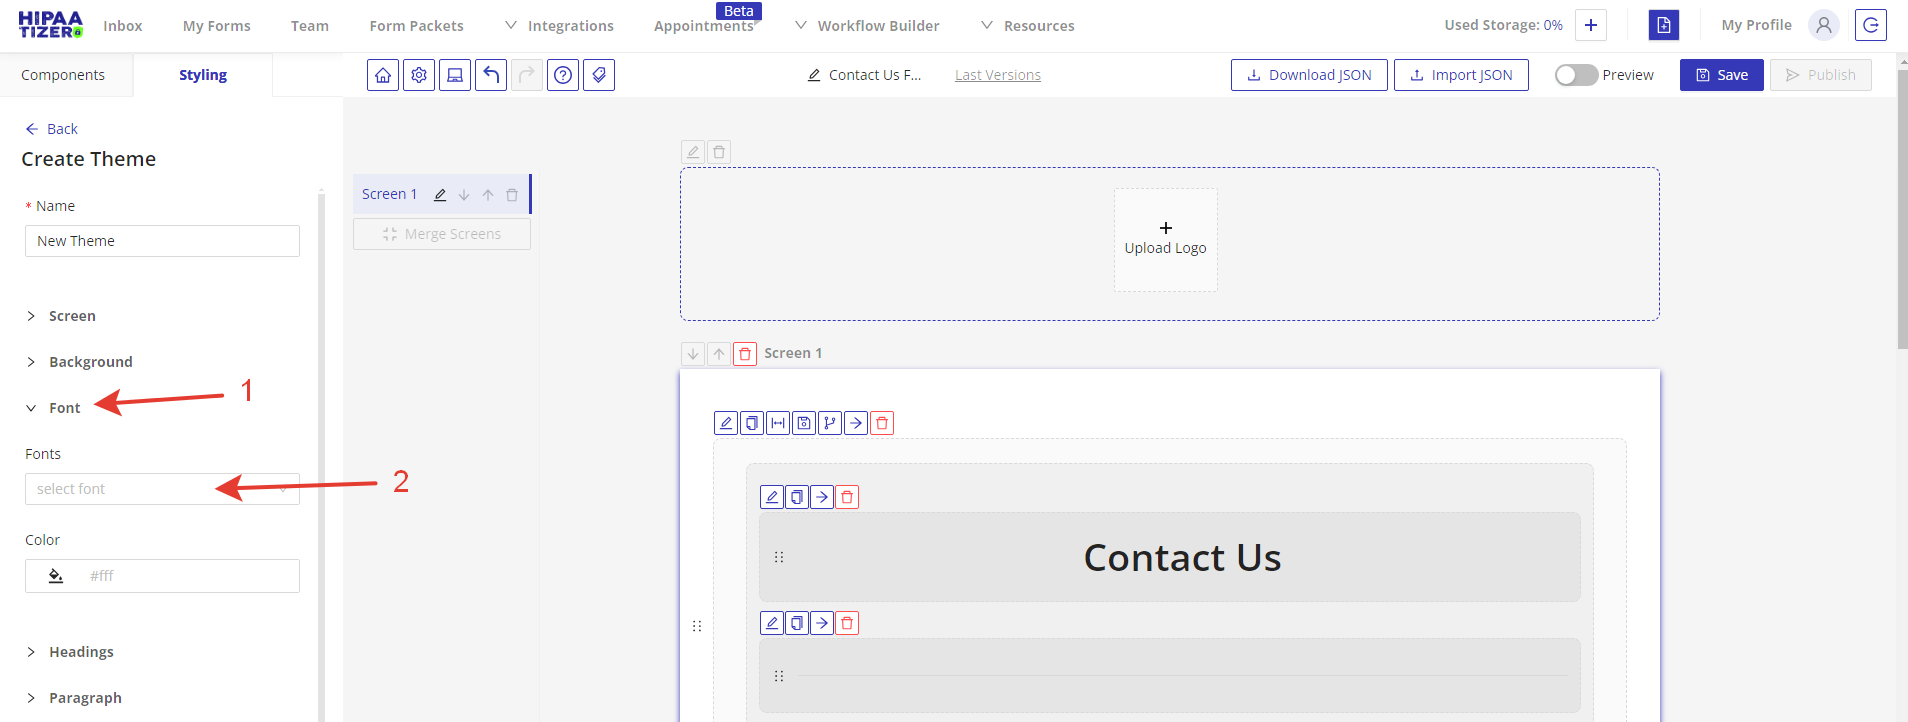
1.2. Give your theme a unique name.
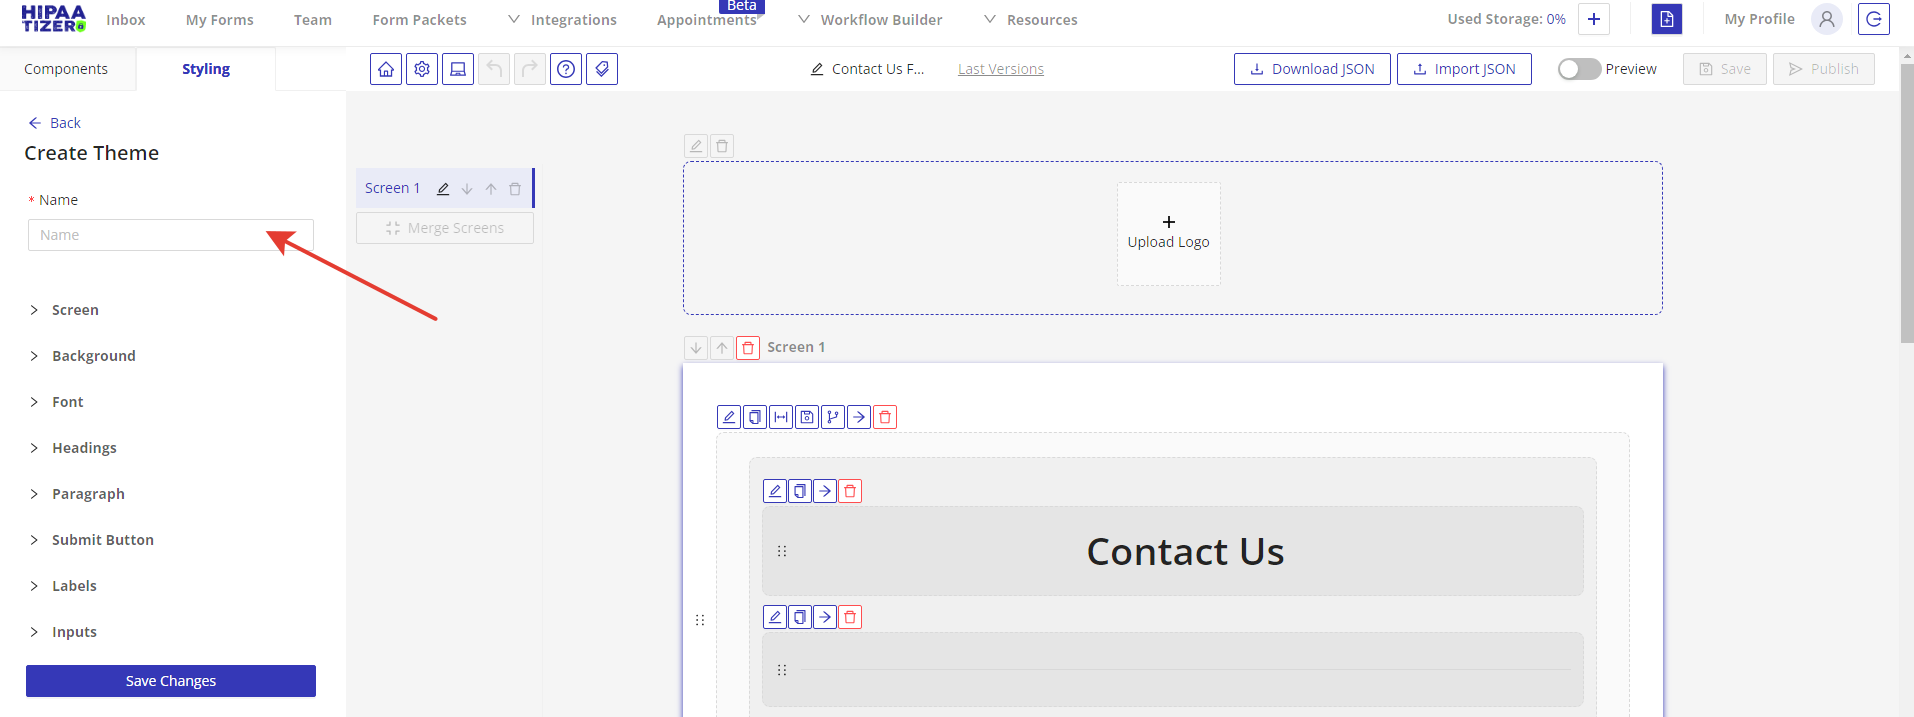
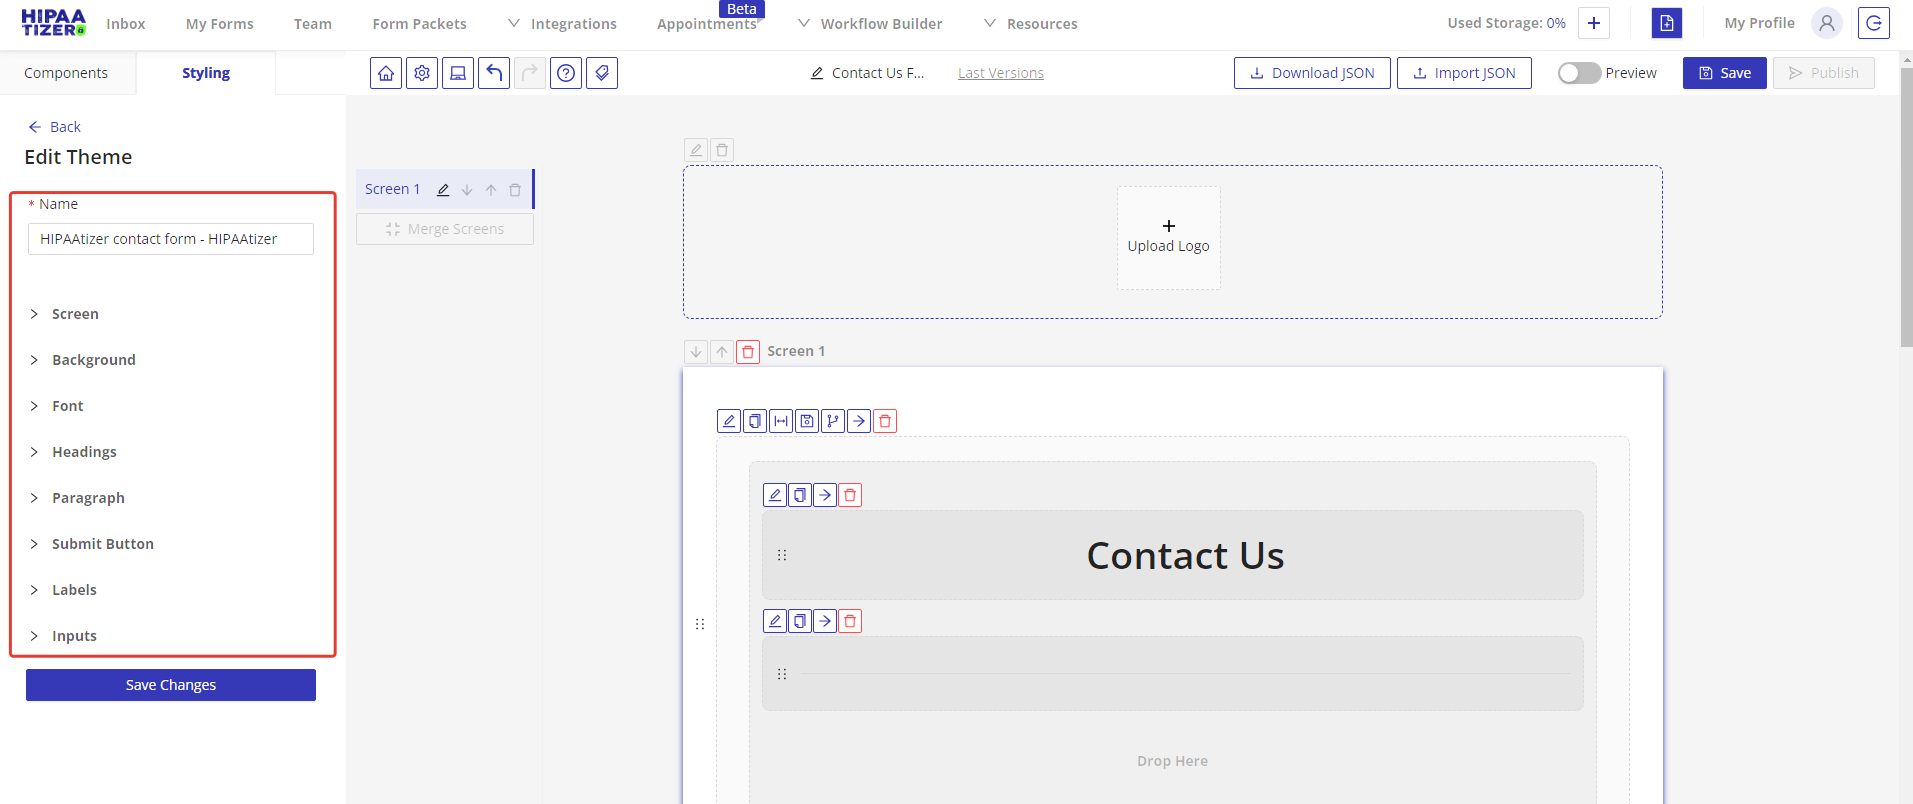
1.3. Click on the appropriate section to change the theme.
For example, to change the font type and button color, navigate to the Font section first and select the desired font from the Fonts dropdown.
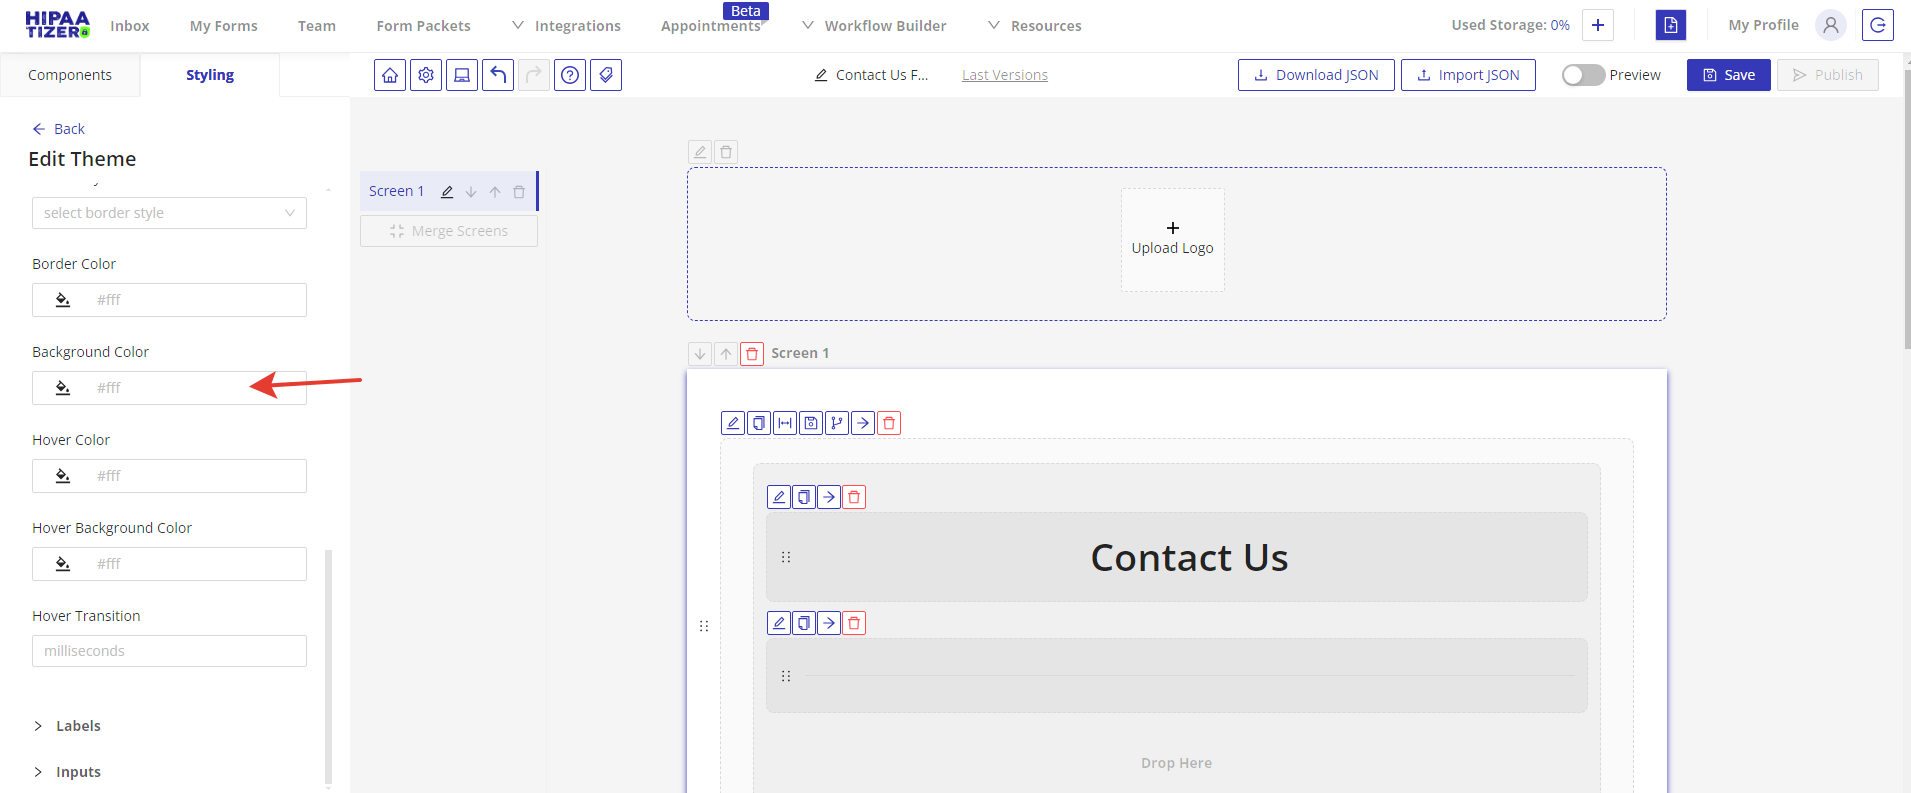
After adjusting the font, go to the Submit Button section and choose the appropriate color from the Background Color field.
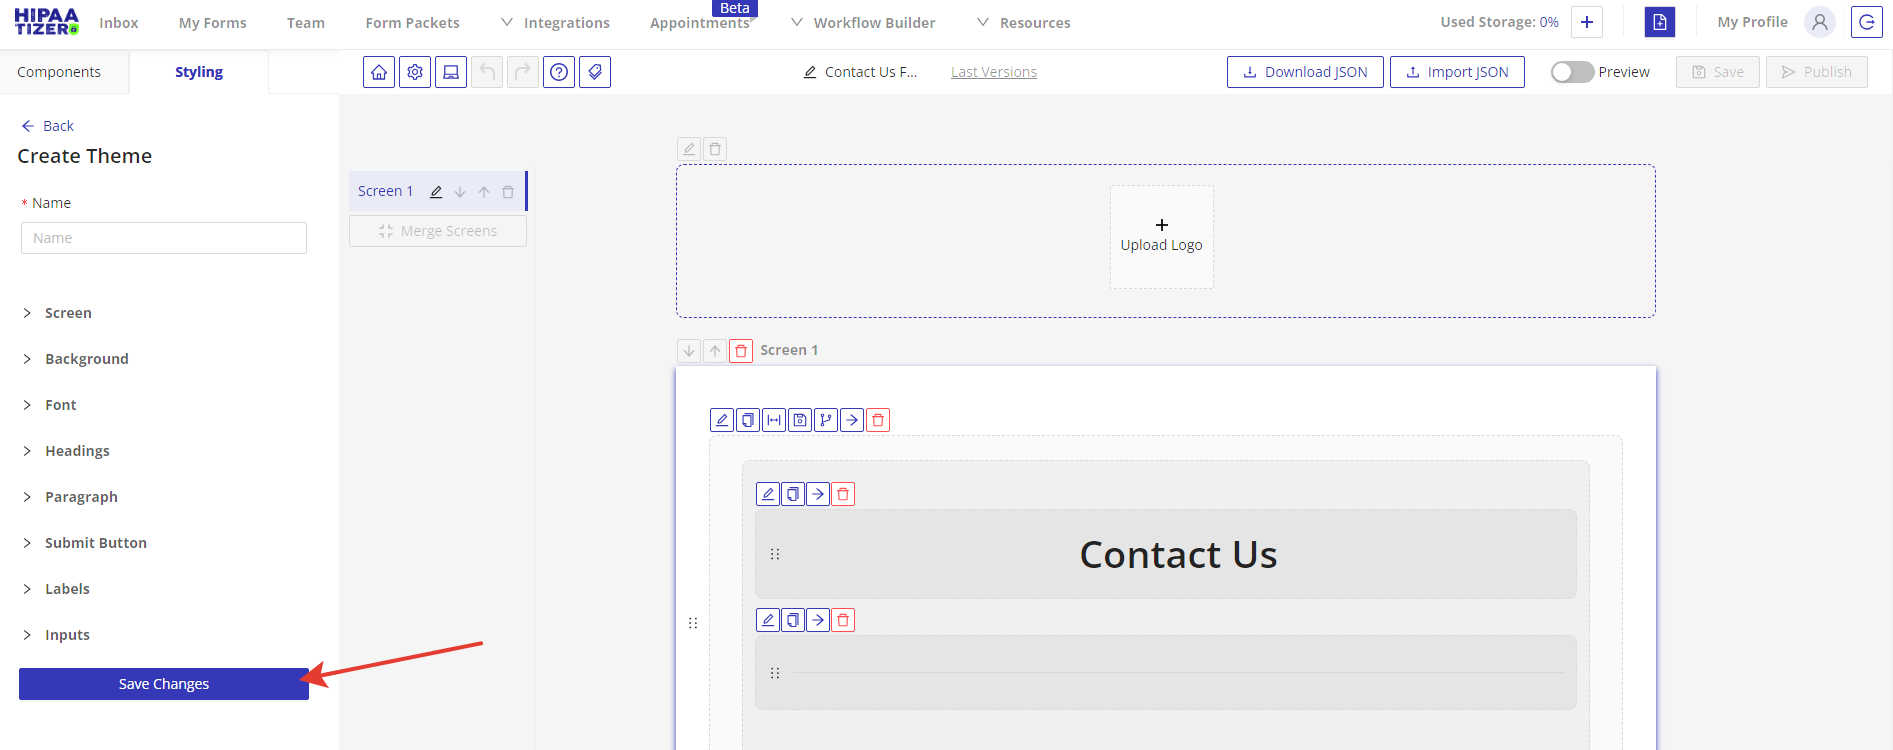
1.4. Save your changes by clicking on the Save Changes button.
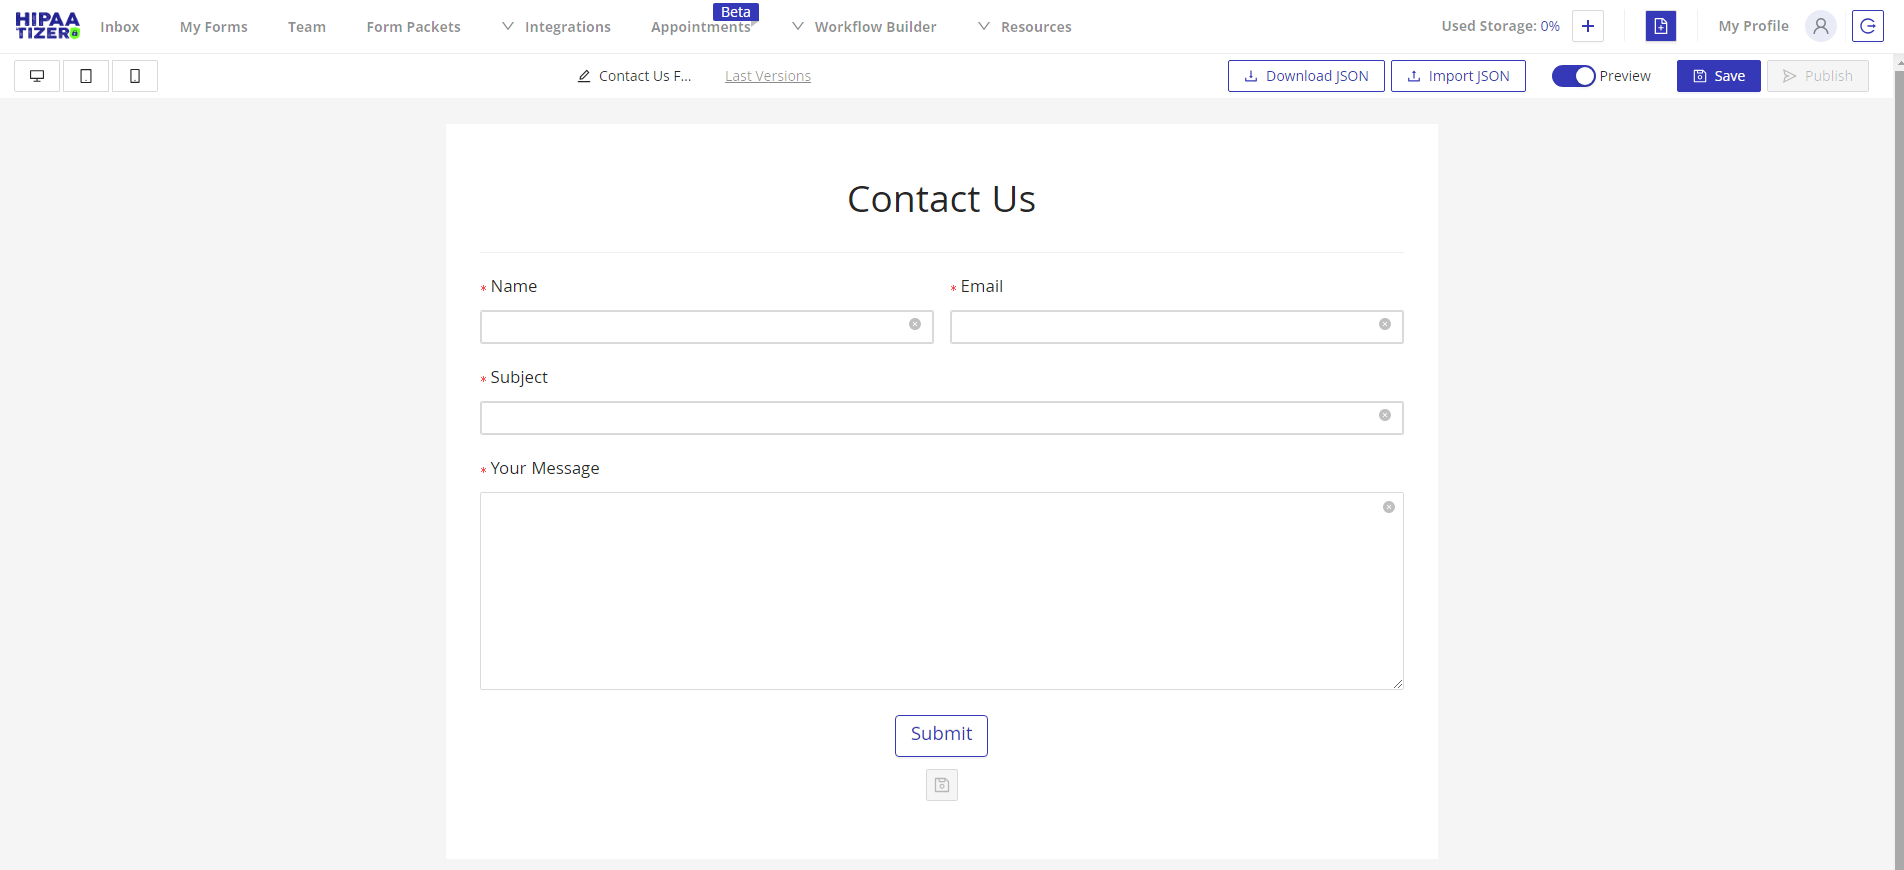
1.5. To preview your changes, click on the Preview switch button in the top right corner.
Here is how our form looks with the applied theme settings:
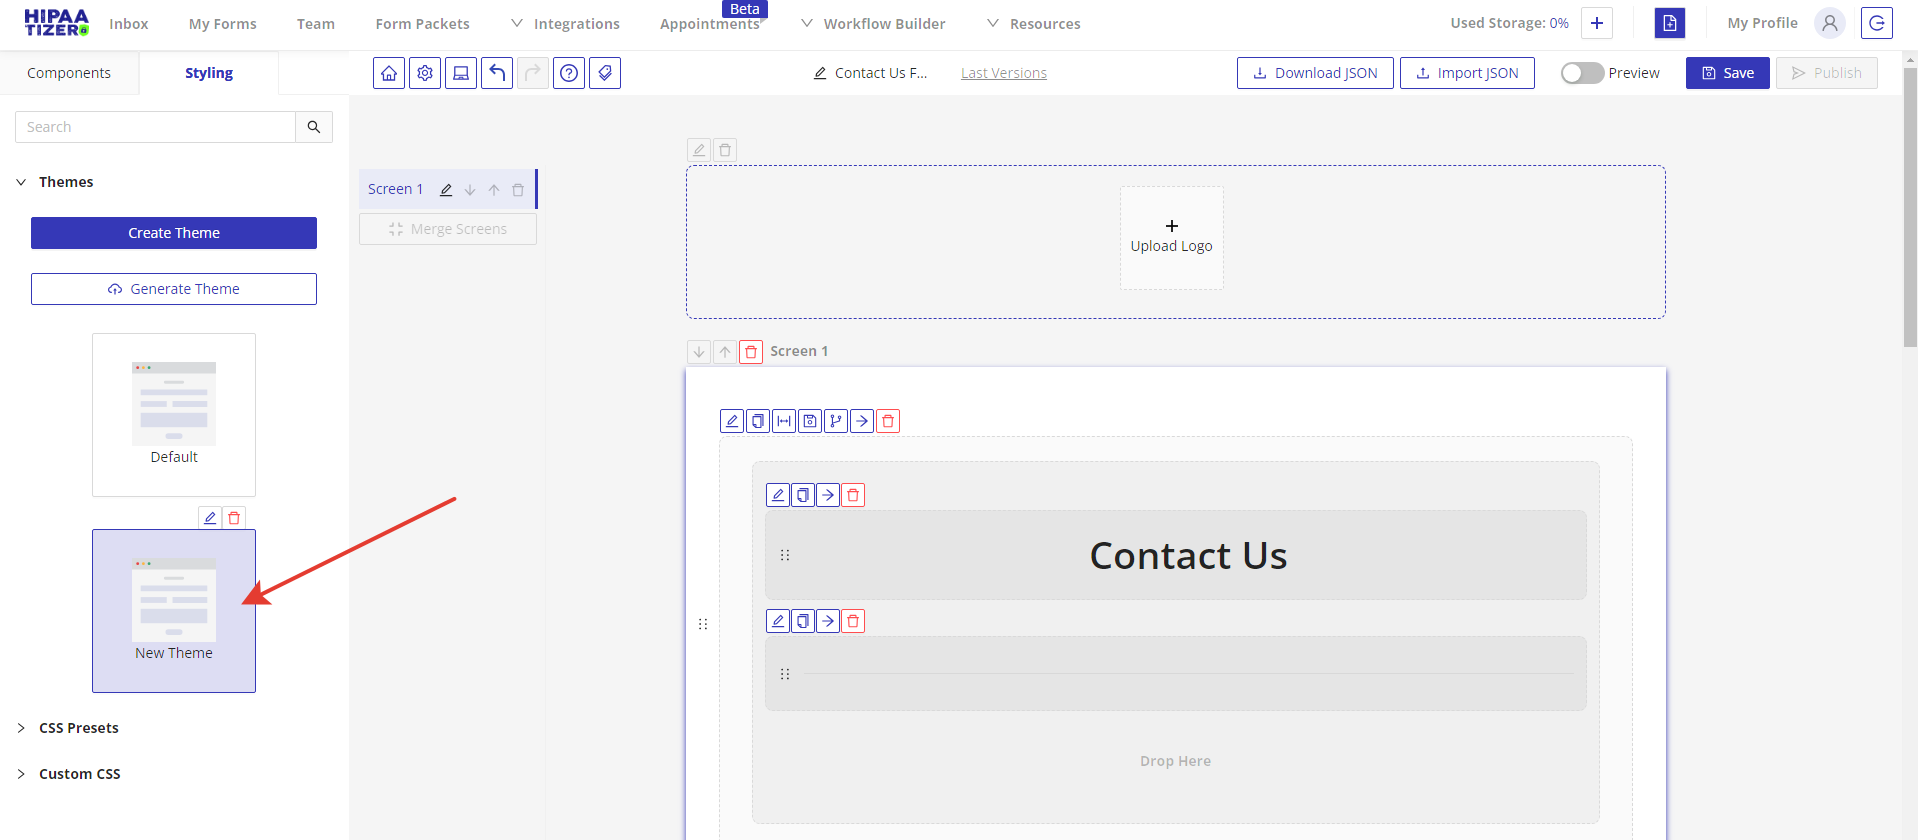
1.6. To make further adjustments, switch back to the form builder and navigate to the Styling tab again. Your theme will appear in the Themes list and will be selected as the current theme.
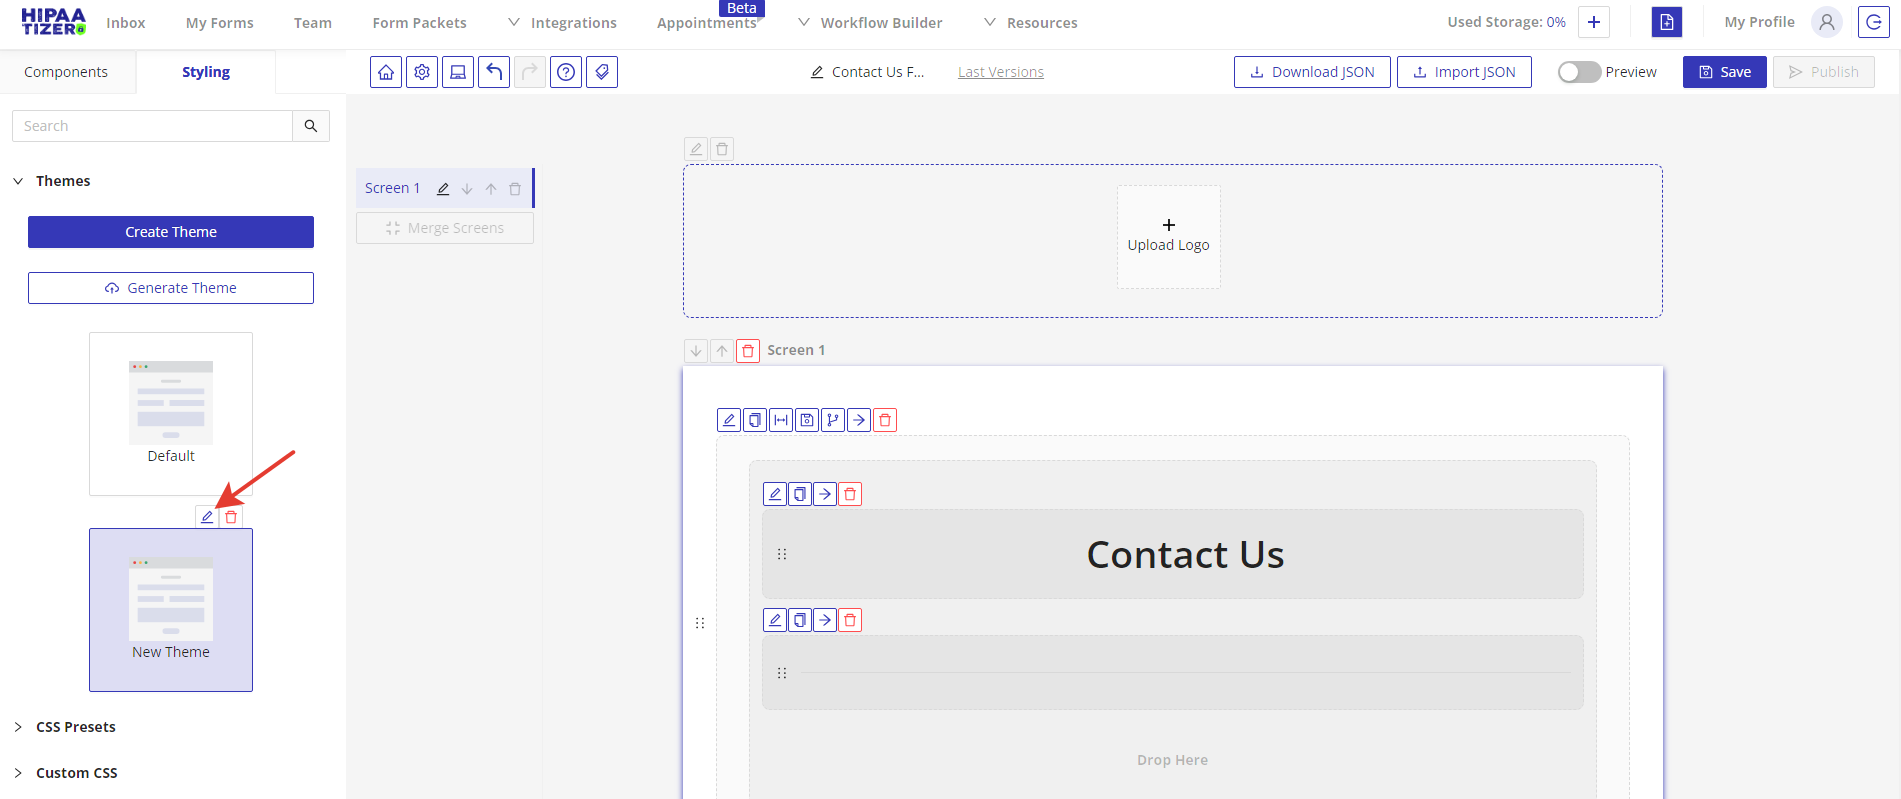
Click on the Edit icon to modify your theme.
1.7. Once you’re satisfied with the form’s appearance, save and publish your form.

2. Generate a Theme
If you want to apply styles from your website, you can use the Generate Theme option. Please note that HIPAAtizer might not be able to recognize styles from your website.
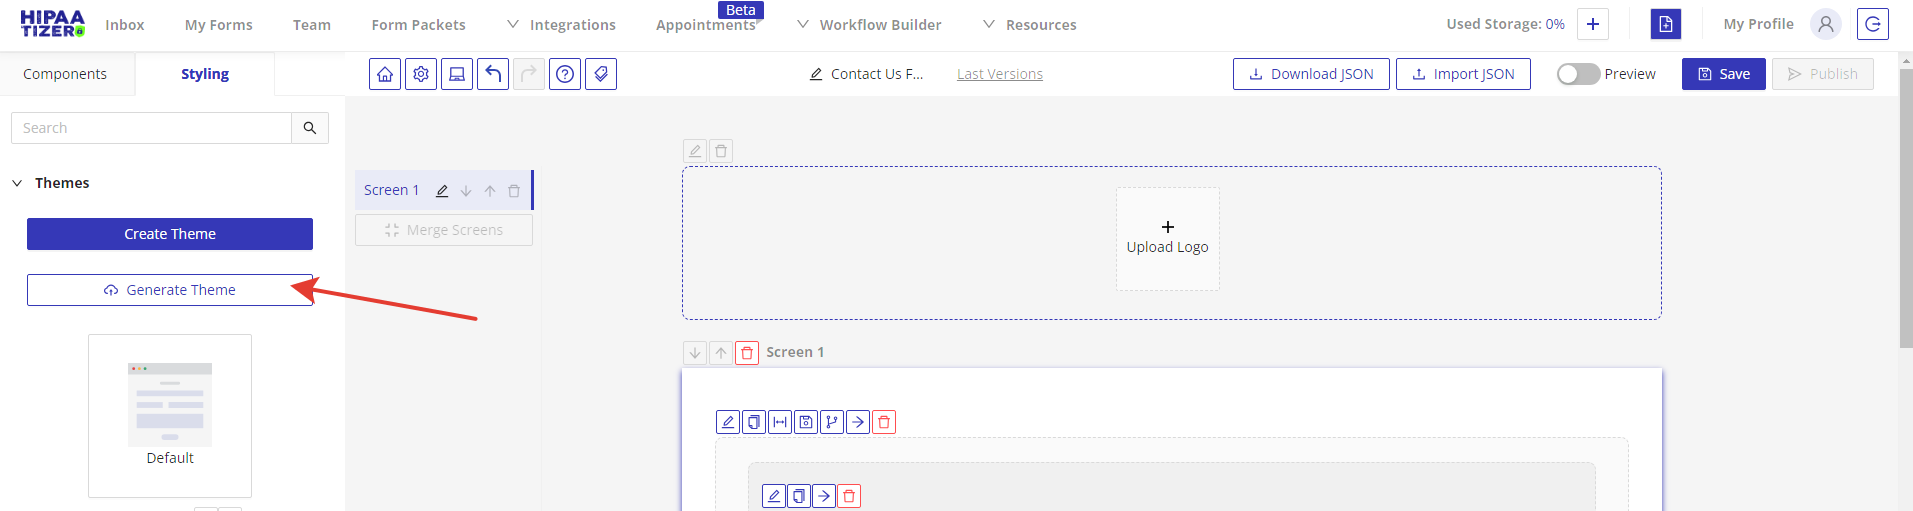
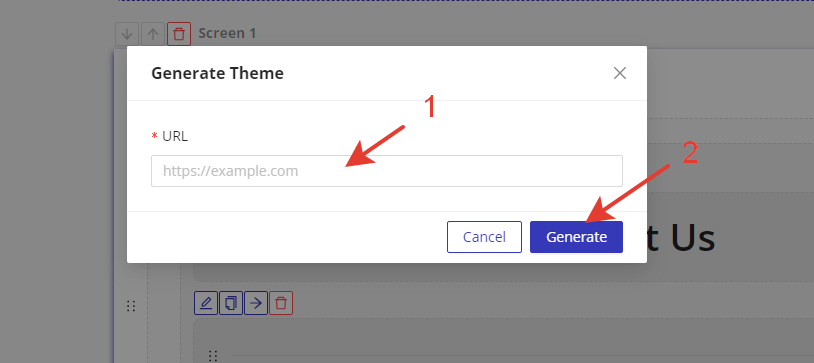
2.1. Click on the Generate Theme button.
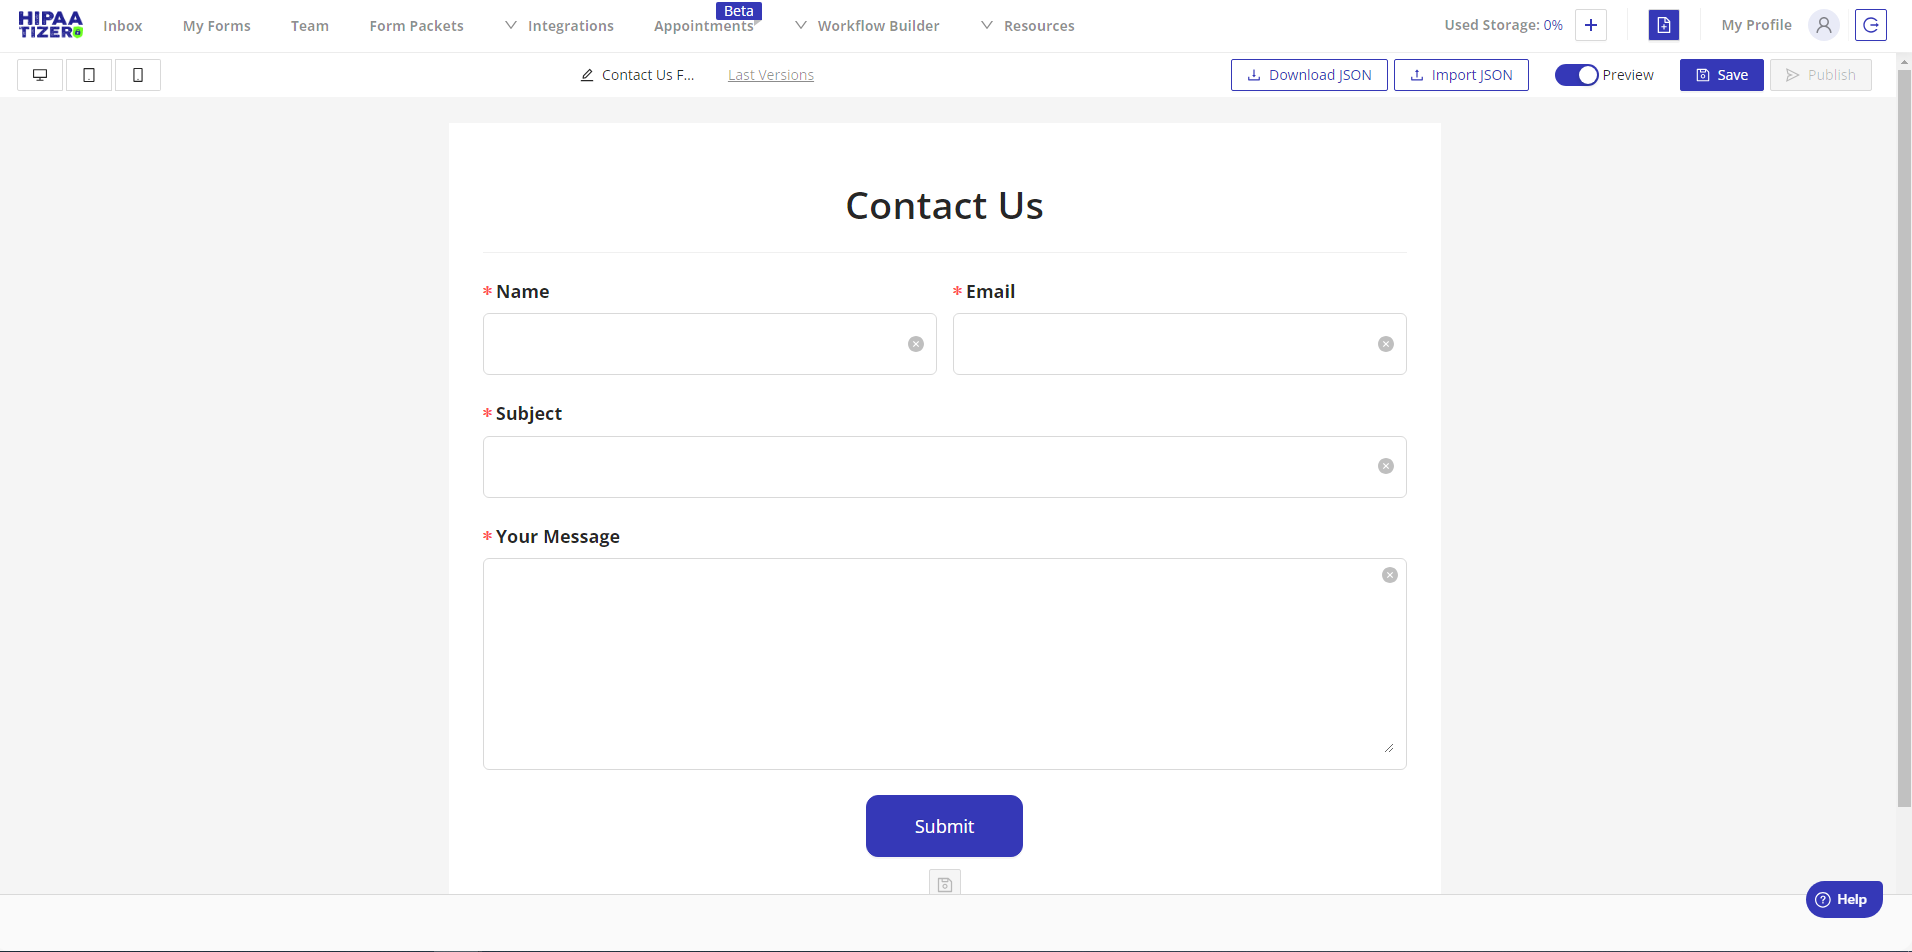
2.2. Enter your website URL and click on the Generate button. For example, let’s use the HIPAAtizer contact us form page: https://www.hipaatizer.com/contact-us/
2.3. Your generated theme will be displayed in the Themes tab. You can rename it and edit its styles.
2.4. Click on the Preview switch button to see the applied changes. Here is how our form looks with styles from the HIPAAtizer website:
2.5. Once you have completed all settings, save and publish your form.
3. Use HIPAAtizer’s CSS Presets
Currently, HIPAAtizer offers one CSS preset, “Round.” To apply it, please follow these steps:
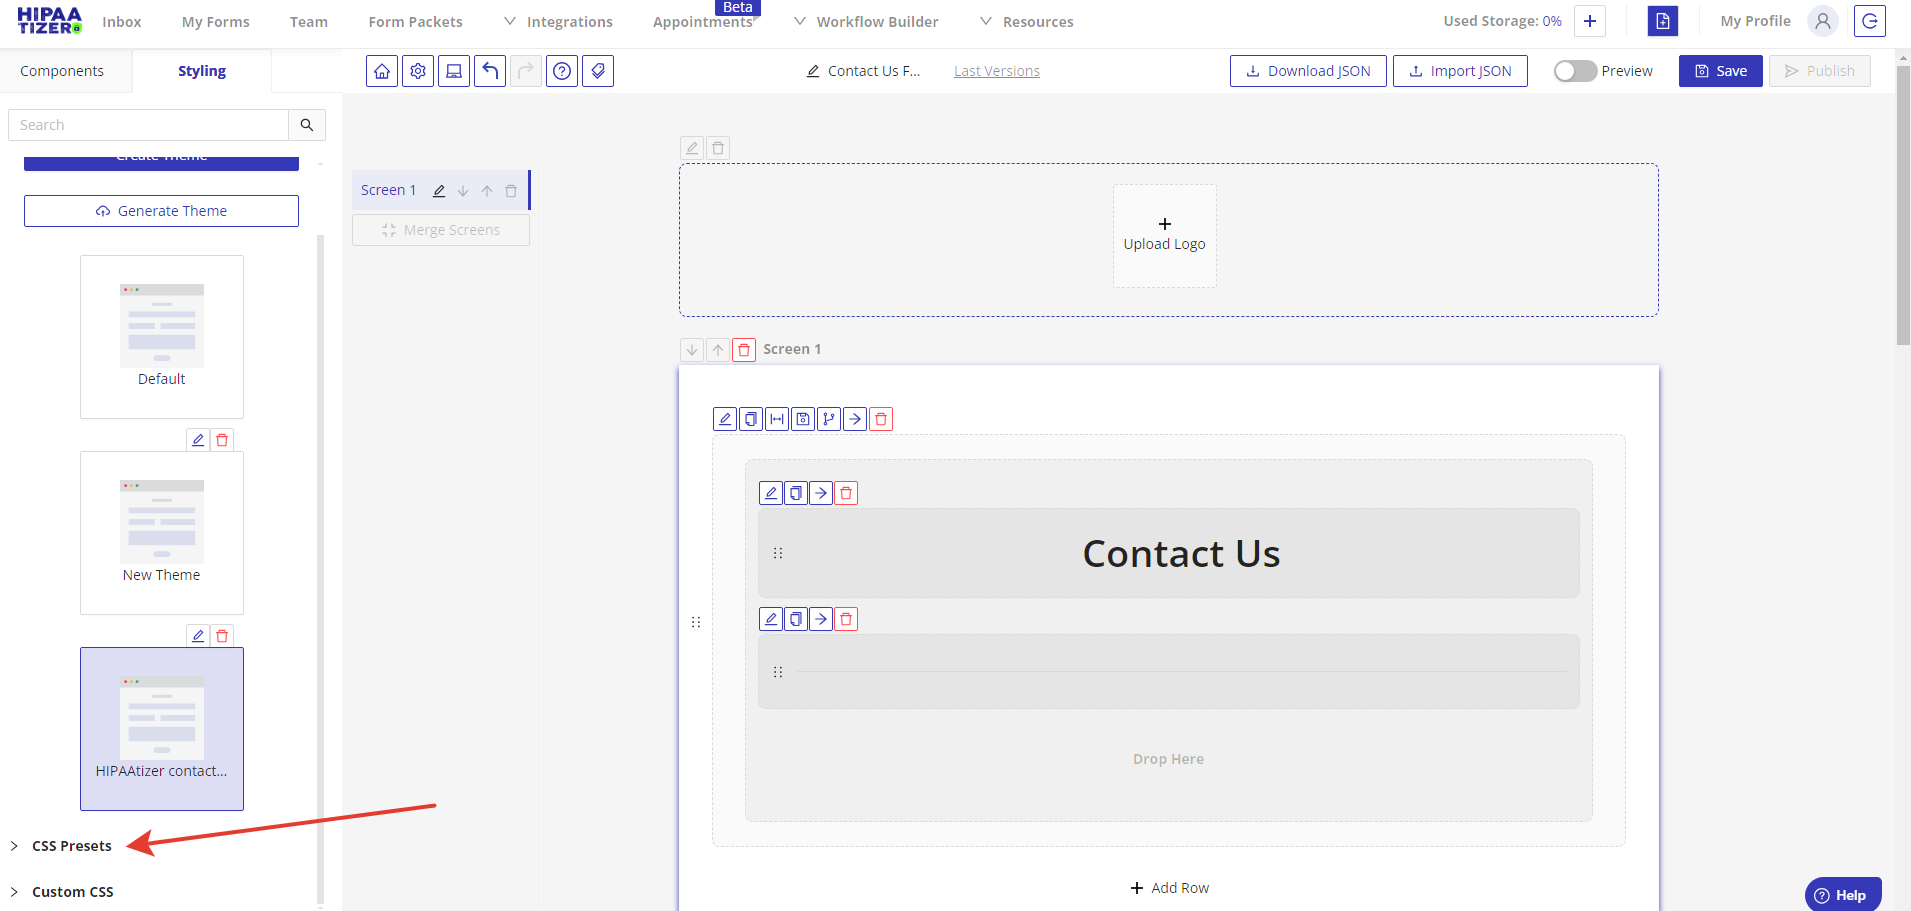
3.1. Go to the CSS Presets tab.
3.2. Click on the “Round” preset.
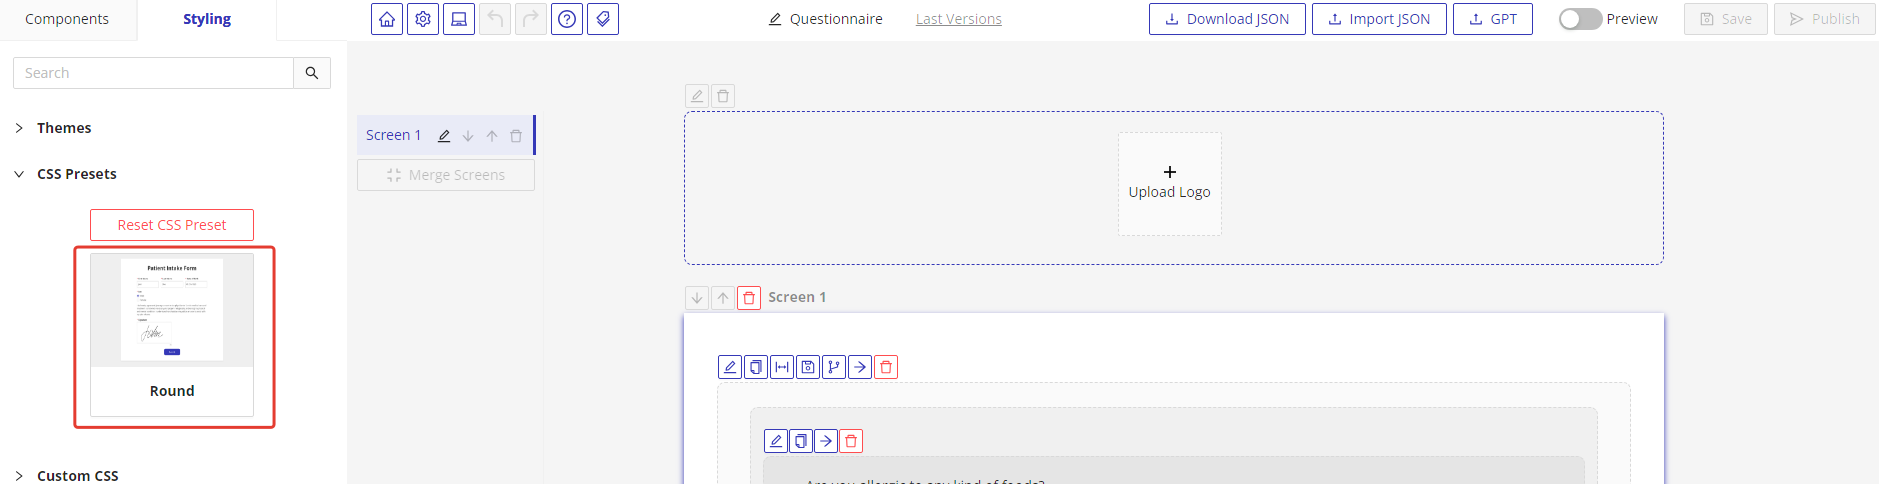
3.3. Click on the Preview switch button to see the applied changes. Here is how our form looks with the “Round” preset:
3.4. To reset the preset, click on the Reset CSS Preset button. The form will revert to the Default theme.

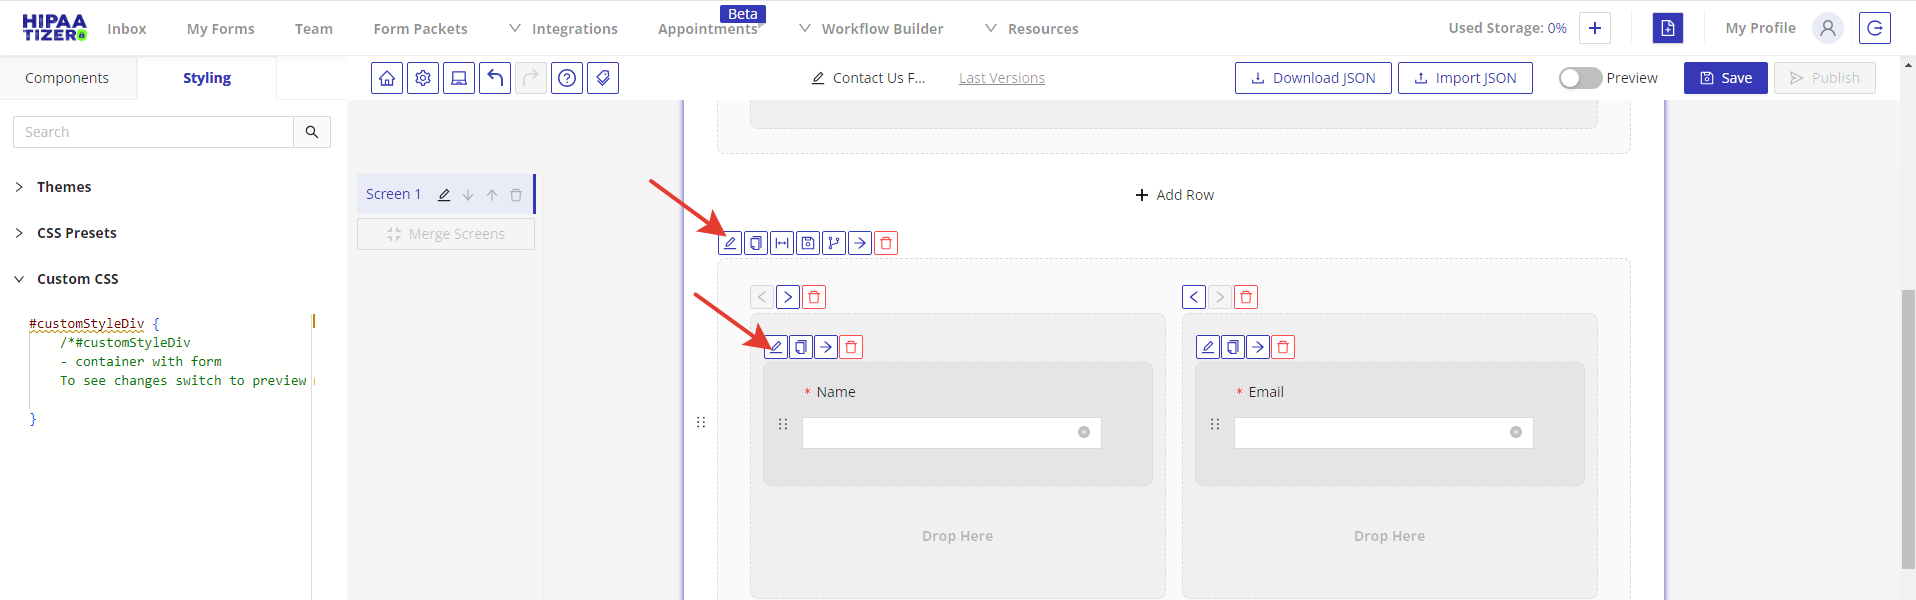
4. Create Custom CSS Styles
HIPAAtizer allows you to create custom CSS styles under the Custom CSS tab.
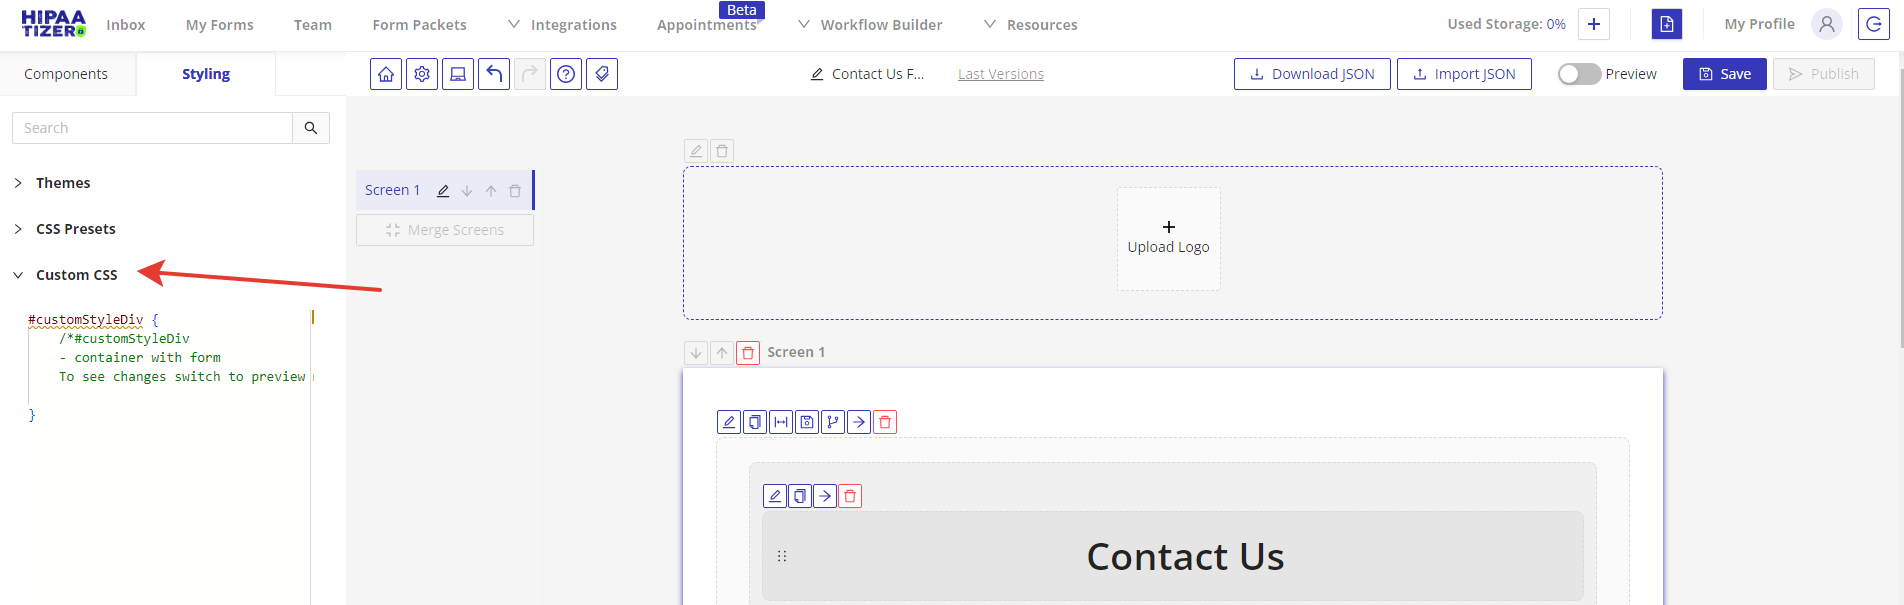
4.1. Write your CSS styles into the field or expand the window by clicking on the Open Full Screen icon.
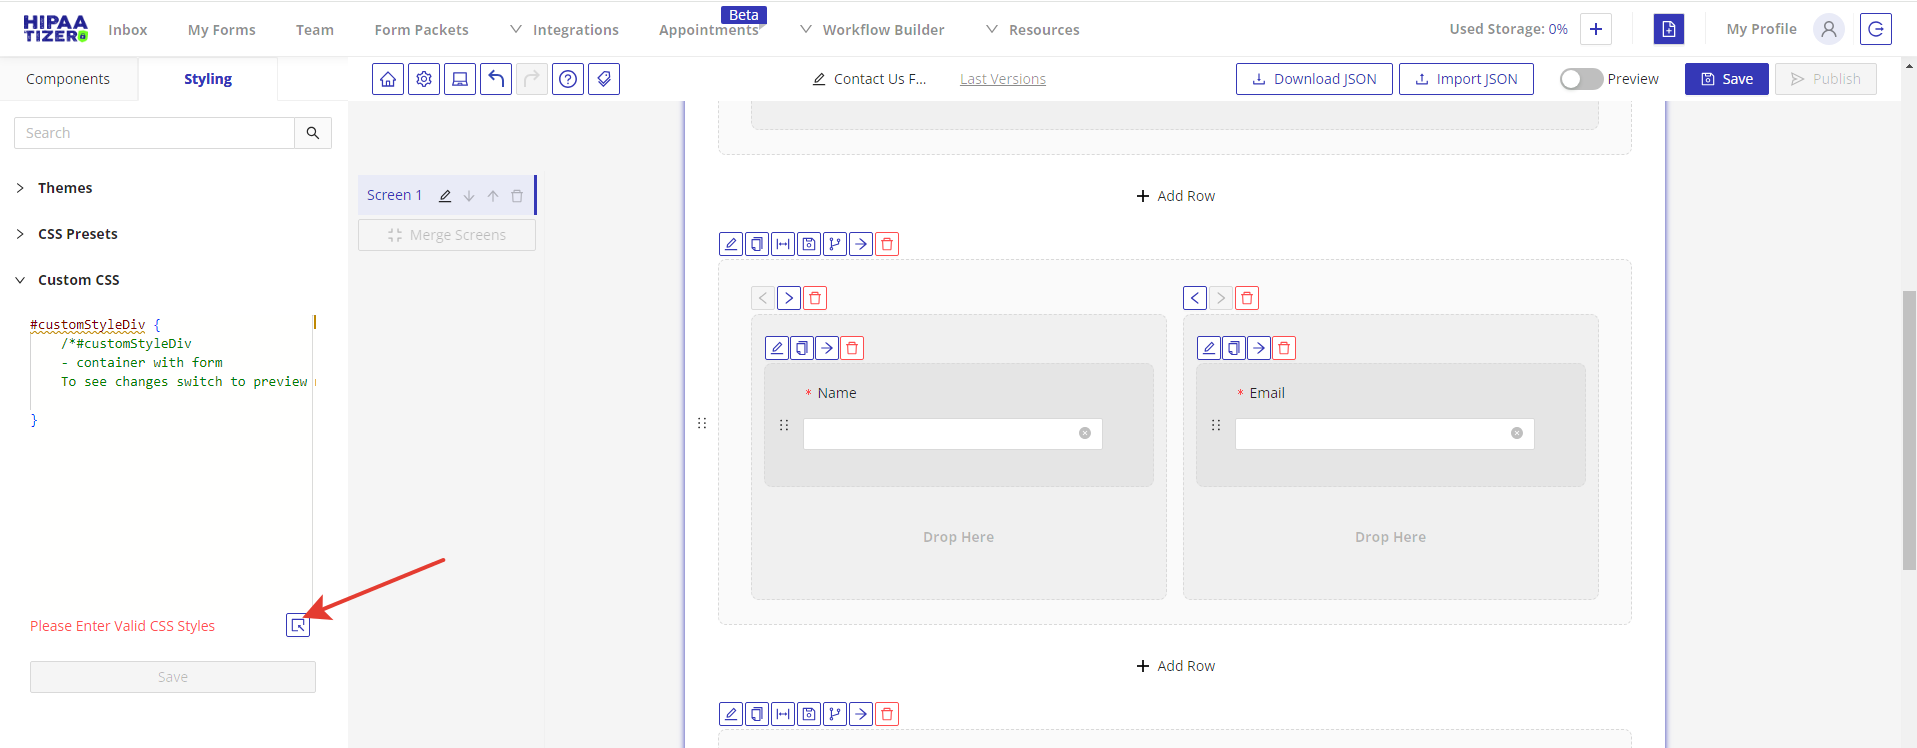
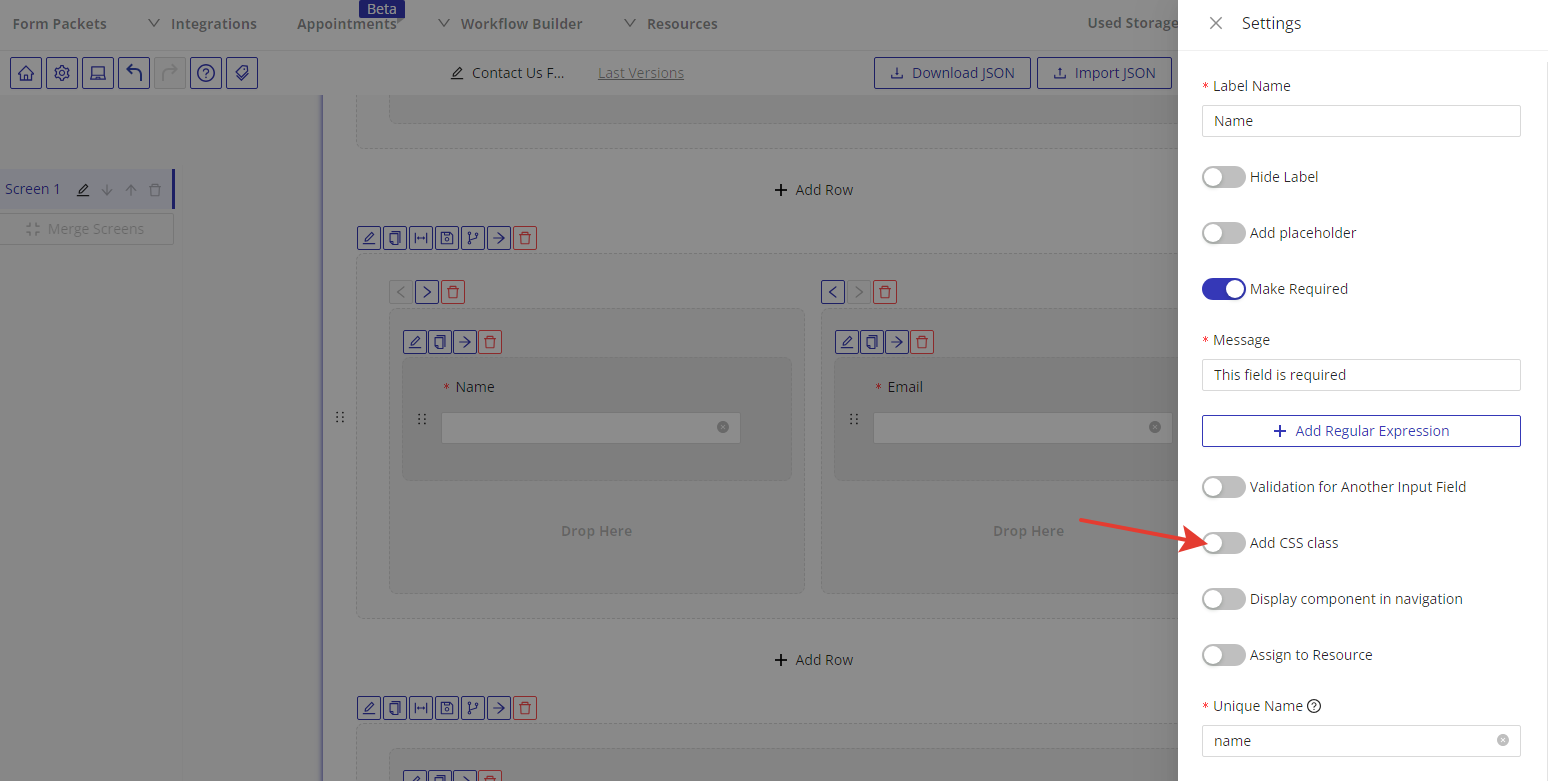
4.2. You can also style specific components or rows by clicking on the Edit icon and adding the CSS class in the Settings drawer.
4.3. Don’t forget to save your changes! The applied changes will be displayed in Preview mode.
4.4. Save and publish your form to finalize your form styling.
Still have questions? Contact us