Message templates are a great way to save time when you’re sending many relatively standard messages to patients or clients.
Templates can be created in your account’s Profile Settings.
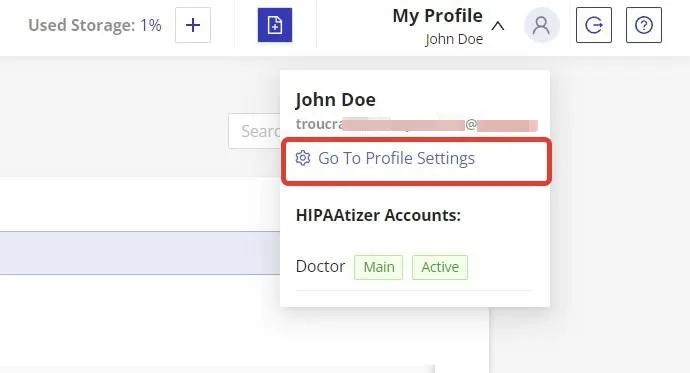
- Log into your HIPAAtizer account and from select ‘Profile Settings’ in the top right, under ‘My Profile.’

- Click on ‘Message Templates’ in the Profile Settings. Once the window for creating templates appears, click on ‘Create Template’.

- In the dropdown choose the desired option for your message template. You can create an email message (‘Message’) template or a ‘Text Message’ template.

- To create an email message template, choose ‘Message’ in the dropdown. When the ‘Create Message Template’ modal window opens, fill in the relevant fields:
Title: This is the name that you assign to the Template. This is only visible to you. Please make it as unique as possible for ease of searching. (For example: “Driver’s License Request-All States”, “Medical History-Georgia”)
Subject: This is the subject in the email that your client or patient will ultimately see. Make it as relevant as possible so that the client or patient will open and respond to the message. Be careful not to display any PHI.
Message body: Here is where the automation and efficiency can really be gained. Make sure to use the variables, (for example, Contact First Name, Contact Last Name) where appropriate to increase the personalization of the message and increase response rates.

In this screenshot, you can see where the variables are available to add to your template’s message.

- After filling in the necessary fields, including the body of the message, click ‘Create’ to create and save your template.

- If you want to create a text message template, follow the steps 1, 2, 3 above and choose the option ‘Text Message’ in the dropdown list. Fill in the required fields, write the message and click ‘Create’ to save the newly created template.


- If you want to make changes in the template, click the ‘Edit’ icon, and edit the relevant fields, then save your changes by clicking the ‘Save’ button.


Still have questions? Contact us