HIPAAtizer allows Covered Entities to invite team members to their account for roles such as Security Officer, Assistant, or Developer. Below are step-by-step instructions on how to invite a user and add them to a Covered Entity account.
These instructions apply to Covered Entity accounts. If you have a free Developer account, please refer to:
- How to Invite a Covered Entity
- Switching Your HIPAAtizer Account From a Developer Account to a Covered Entity Account
Inviting New Users
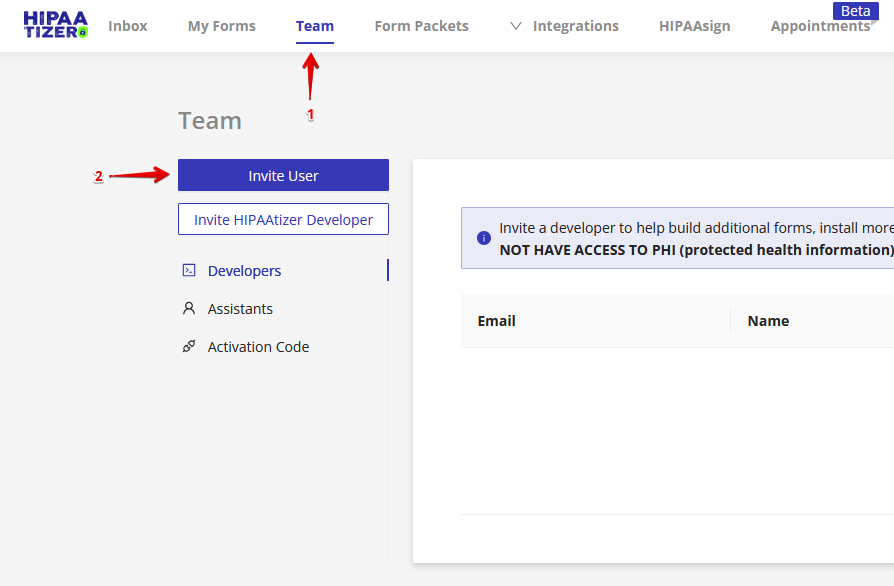
- Access the Team Menu: from your HIPAAtizer dashboard, navigate to the ‘Team’ menu.
- Invite a New User: Click Invite User and enter the user’s email address.
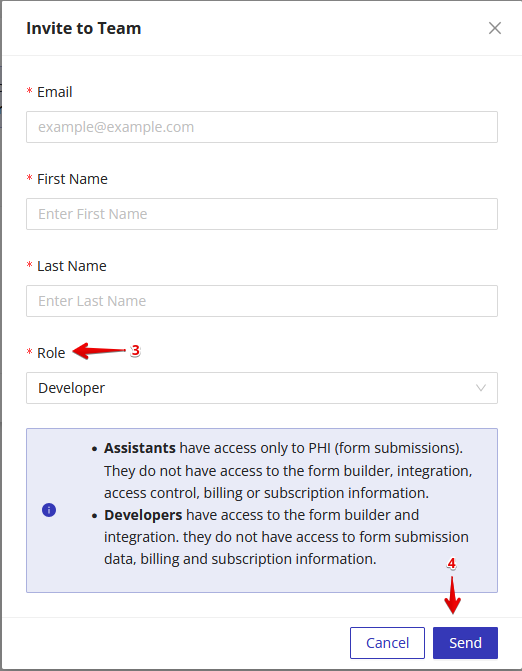
- Assign a Role: When inviting a new user, you must select one of the following roles:
- Security Officer: Has full access to create and modify forms. Security Officers can also grant access to other team members, managing who can view PHI (Protected Health Information) and who can’t.
- Assistant: Can view and receive basic PHI from form submissions, but cannot grant access to others, create new forms, or edit existing forms.
- Developer: Can build new forms, install forms on your site, and handle system updates. Developers do not have access to PHI.
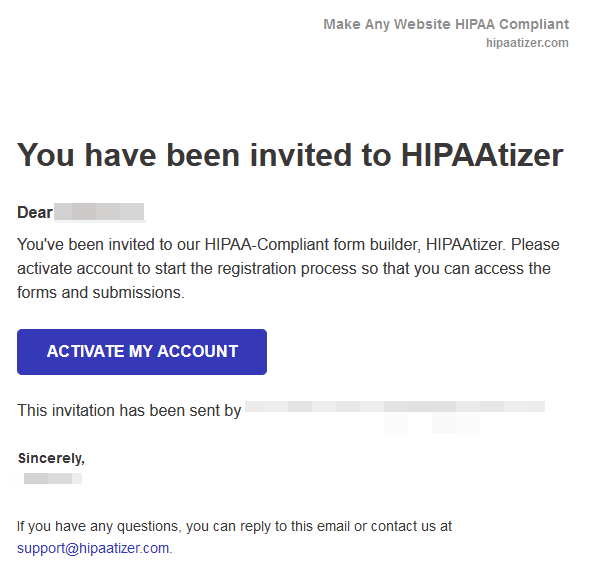
- Send the Invitation: Once you’ve chosen the role and location and sent the invitation, the invited user will receive an account activation email from HIPAAtizer.
User Acceptance and Activation
The invited user will receive an email inviting them to join your HIPAAtizer team. If they do not have an existing account, they will be prompted to activate an account before they can accept your invite.
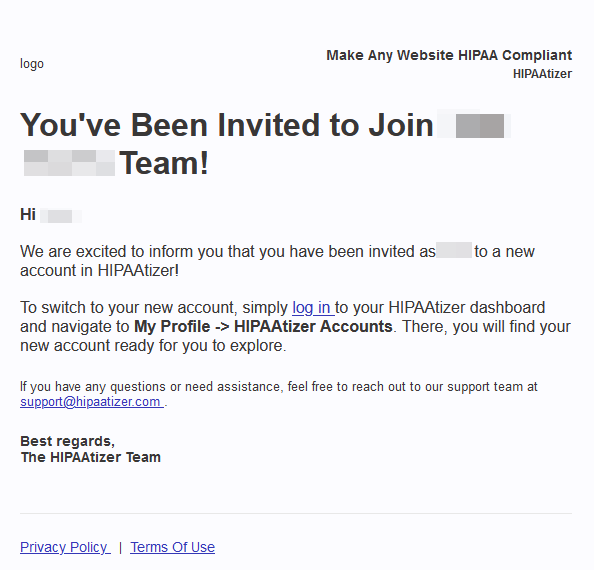
If they have an existing account, they will be prompted to accept your invite and join your team. They must accept the invitation and once they do, they’ll gain access to your account according to the permissions and locations you’ve assigned.
Re-invite a User: If a user has lost their activation email or never completed their registration, you can re-invite them from the Team menu. Further instructions are available in our guide on How to Re-Invite Users.
Managing Existing Users
Once a user has joined your Team, you have these options for managing access and permissions:
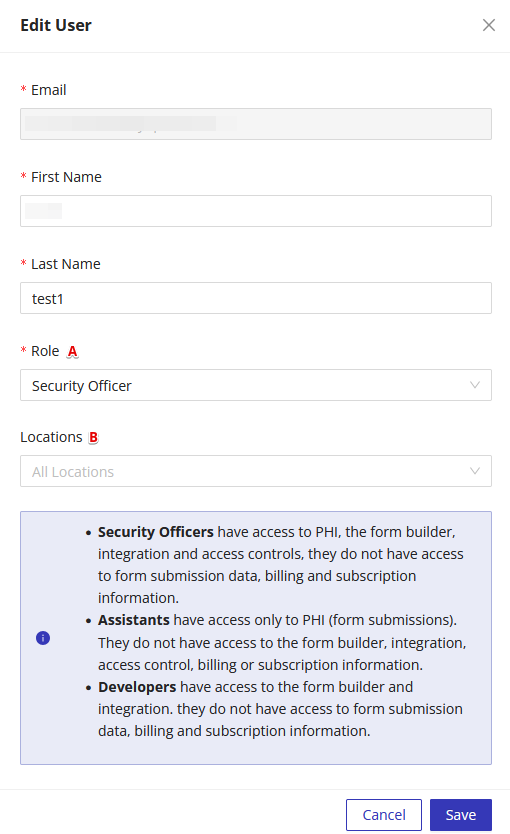
Role (A in screenshot below): You can adjust the roles of Security Officers and Assistants.
Locations (B in screenshot below): If you have multiple locations, you can assign Team members to specific Locations in HIPAAtizer. The default is “All Locations”.
“Locations” Reminder!: By default, new users have access to all Locations within your account. If you want to restrict their access to specific Locations, please go to the Team dashboard and under Actions, choose Edit to open a modal window that will allow you to assign one or more Locations to the user. Once a user has been assigned to a Location(s) they will only see the forms and submissions associated with the assigned Location(s).
Editing and Deleting Submissions and Form Data
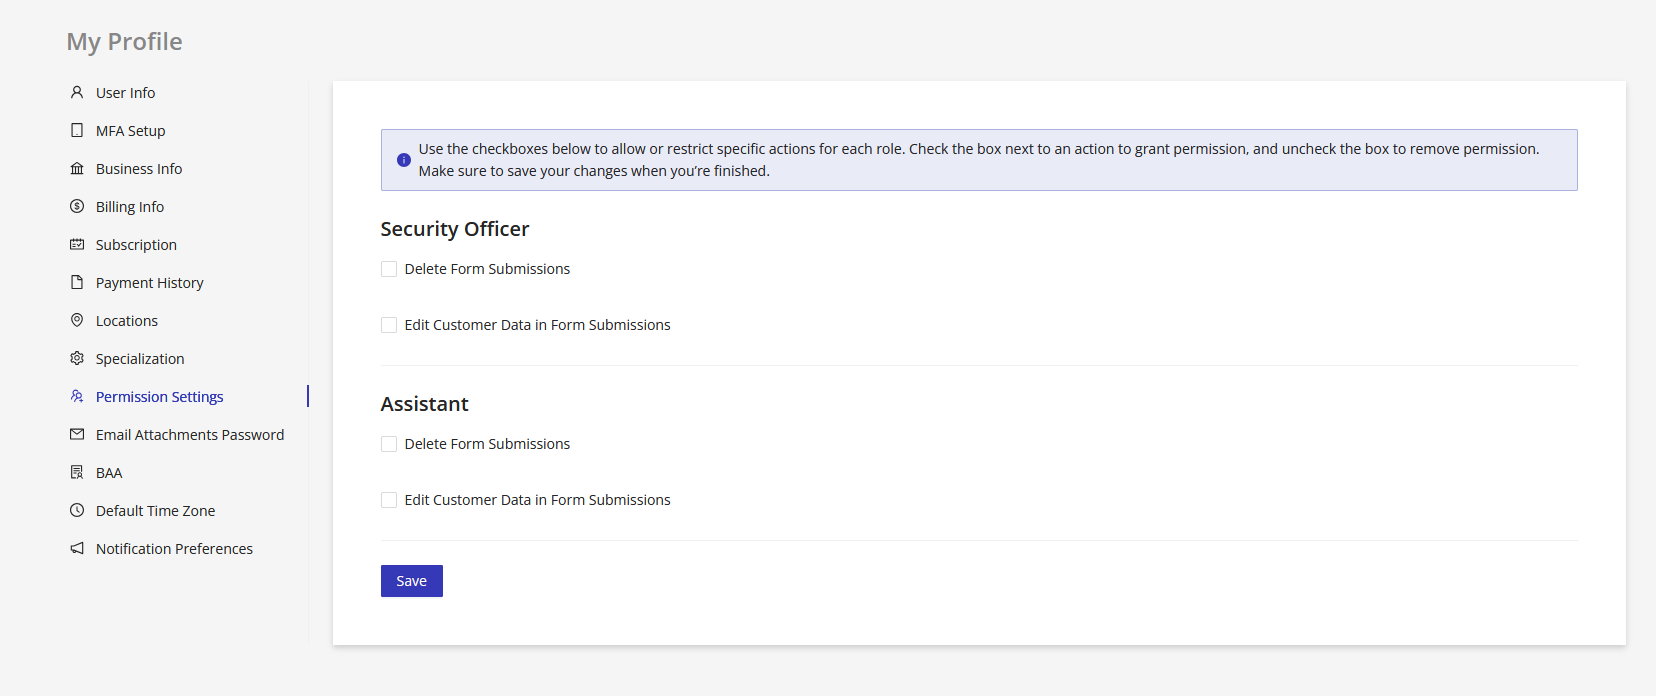
Refine Role Permissions (Optional): To further adjust what each role can do, go to My Profile → Permission Settings. For example, you can specify which roles are allowed to delete or edit submissions.
Permission to edit and delete form submission data can be granted to Security Officers and Assistants. To do so, go to My Profile (Go to Profile Settings)>Permission Settings. In Permission Settings (see screenshot below), you can check the appropriate boxes under the roles to grant the desired permissions. Please note, this will apply to all Team members in each role.
Switching Between Accounts
If the user you invited already has a HIPAAtizer account, they can easily switch between their existing account and yours. For more information, refer to our instructions on Switching Between Accounts in HIPAAtizer.
Switching Your HIPAAtizer Account from a Developer Account to Covered Entity Account
Still have questions? Contact us