How to create or add “For Internal Use Only” fields
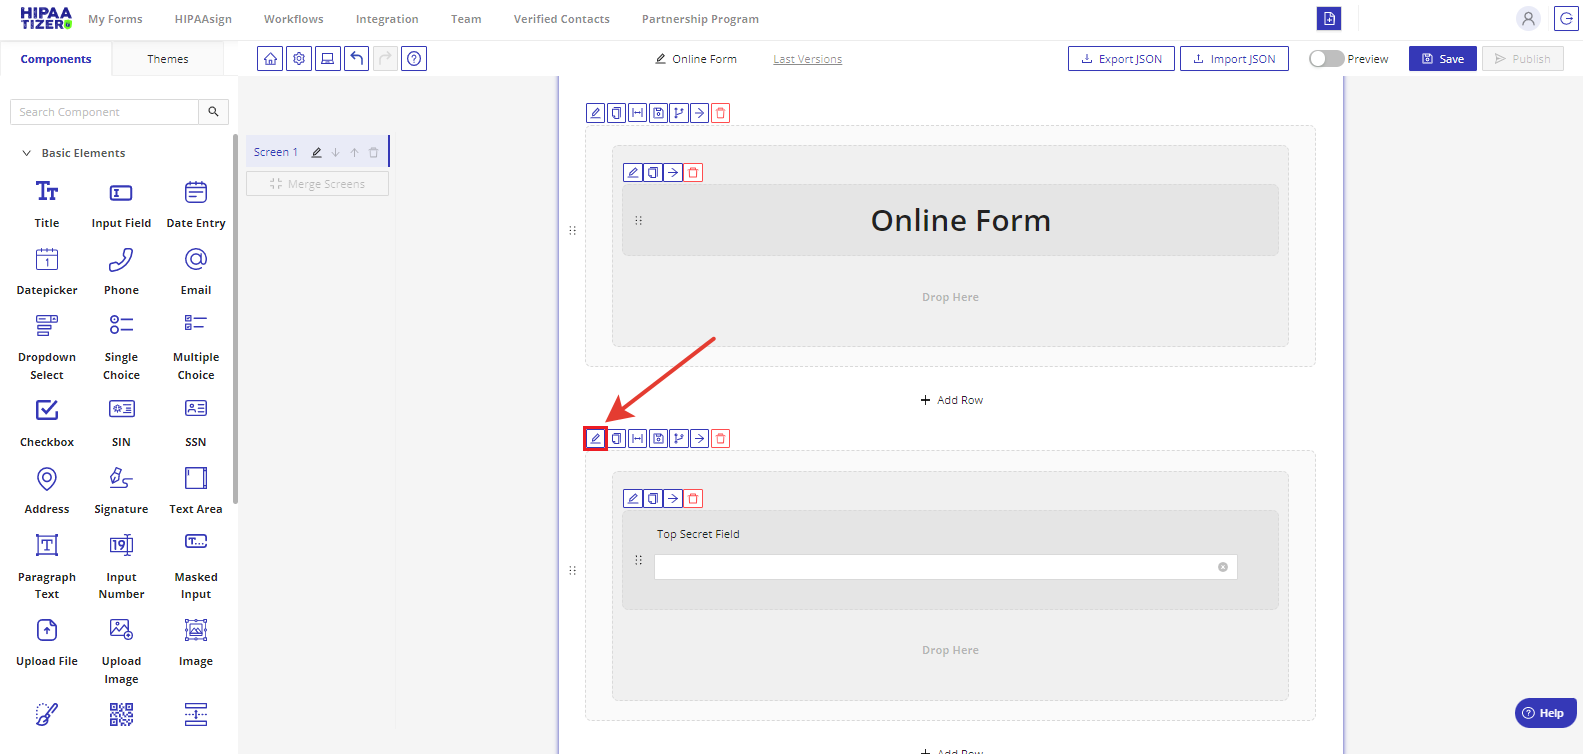
Step 1. To make a row “For Internal Use Only”, click on the edit button to open the Settings box:
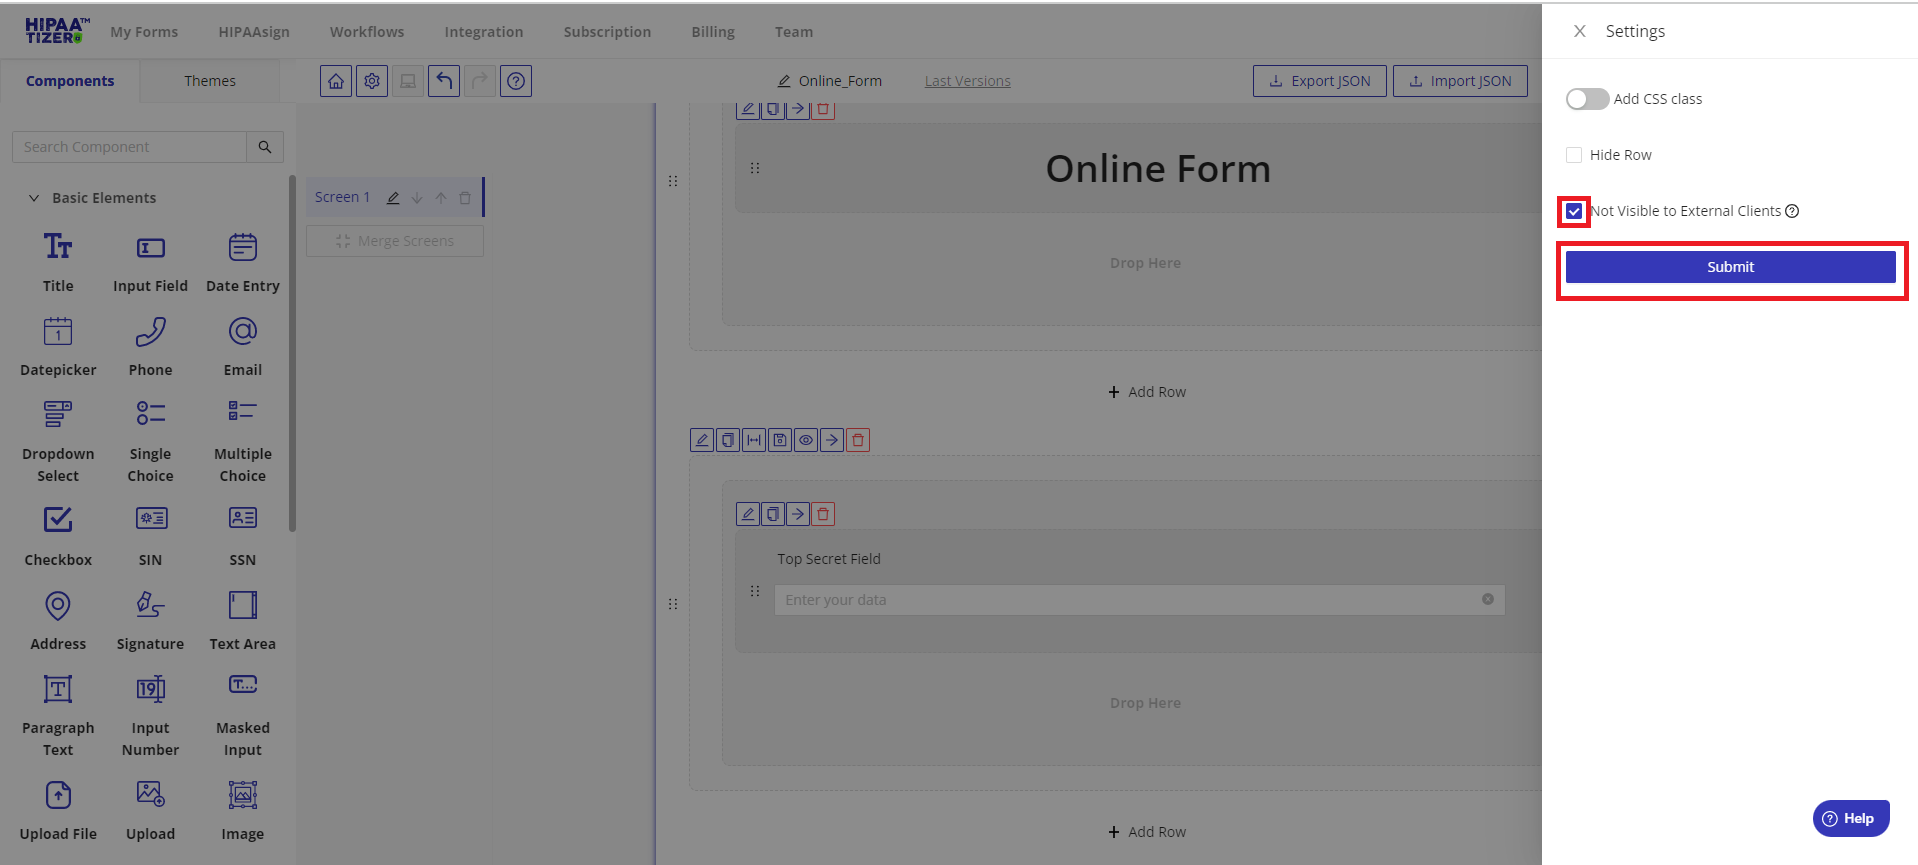
Step 2. Сlick on “Not Visible to External Clients” and then “Submit”:
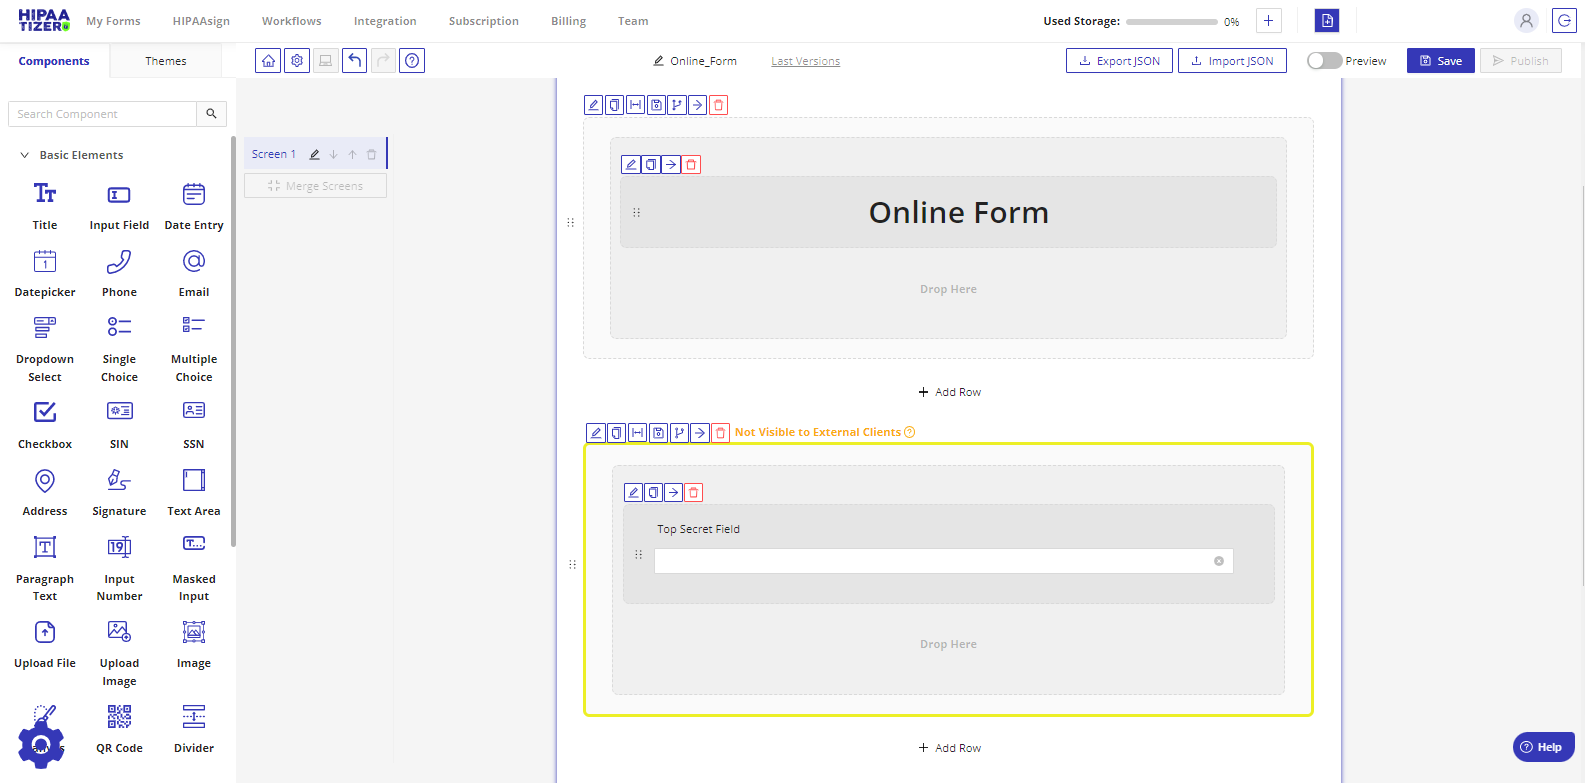
Step 3. Upon clicking the “Submit” button, a yellow border appears around the section or row that is not visible to external clients:
How to use or complete forms with “For Internal Use Only” fields
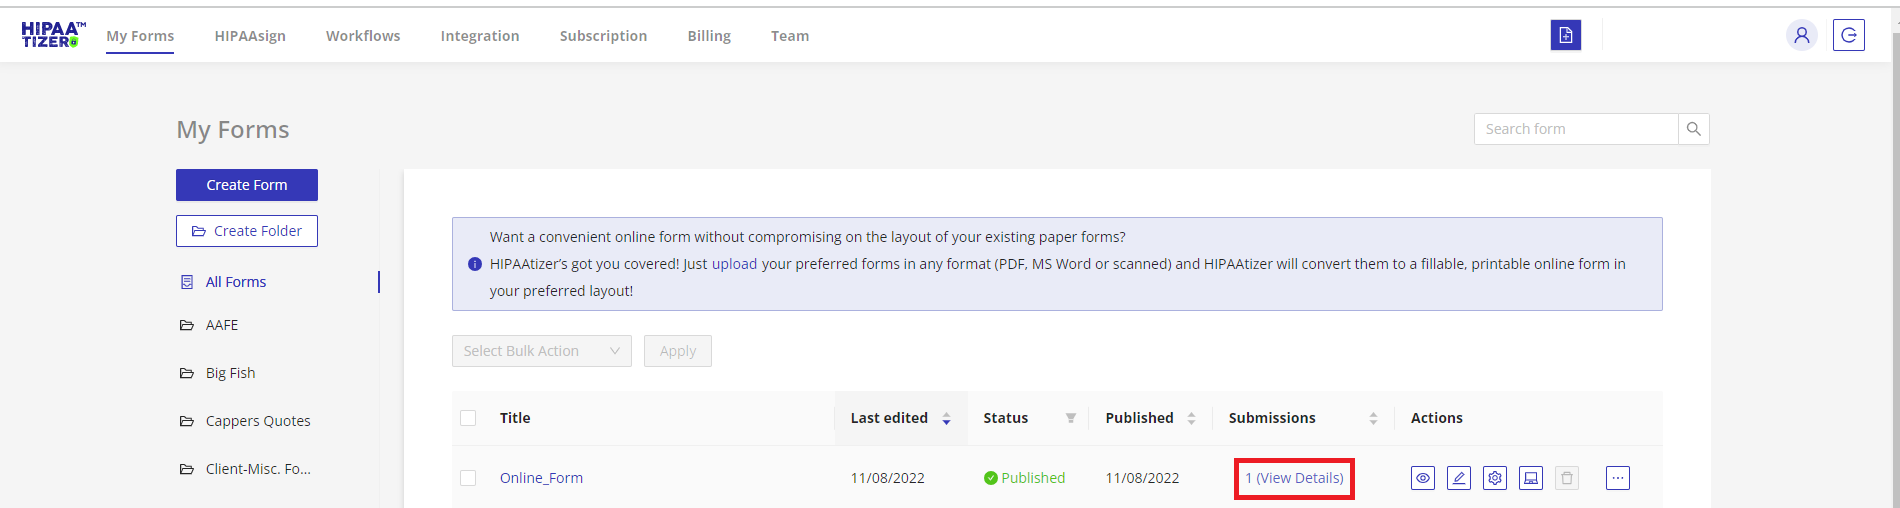
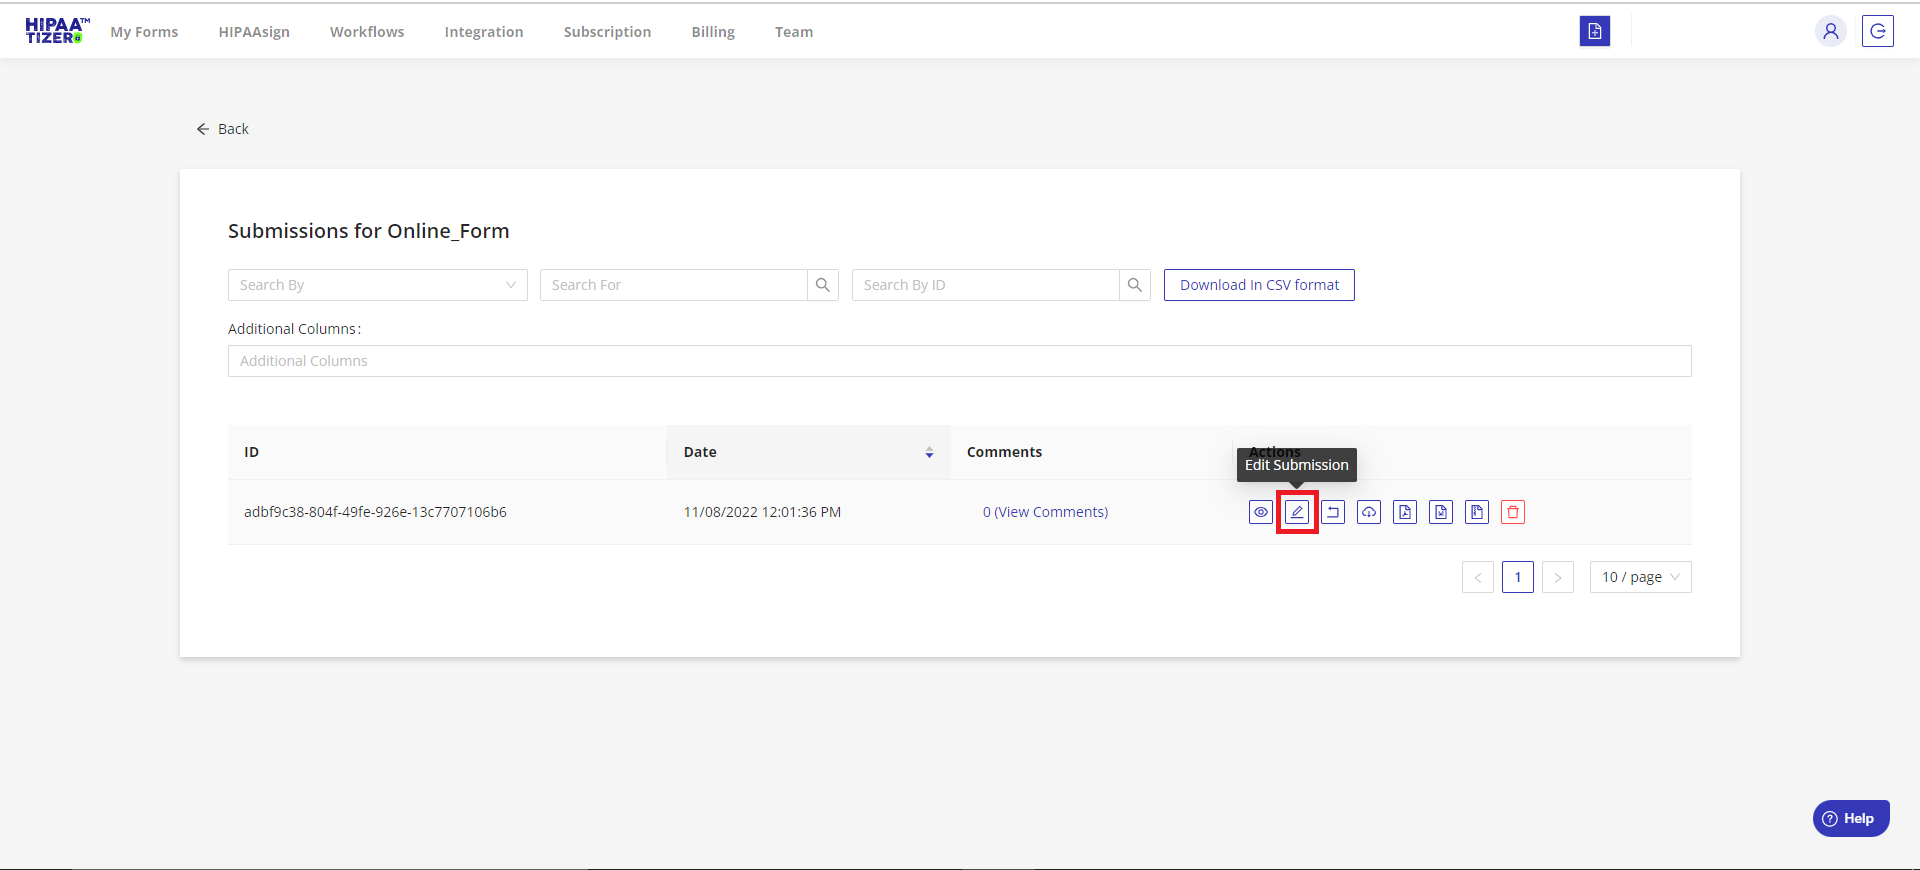
Step 1. To fill in “For Internal Use Only” fields: After a submission has been received, go to My Forms and find the appropriate form and click on “# (View Details)” in the Submissions column:
Step 2. On the submissions page, the “Internal User” should click on the “Edit Submission” button (see below) to open the submission:
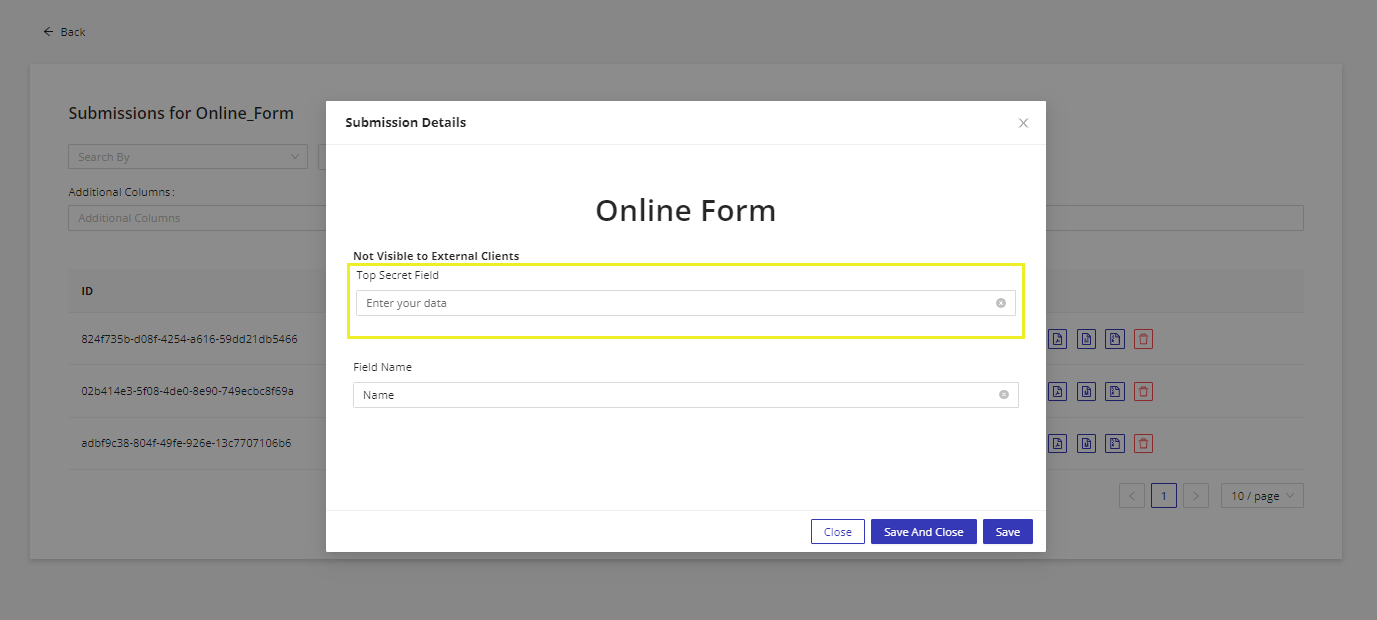
Step 3. Inputting “Internal Data”: When the Internal User is ready to input internal data, they simply add the relevant data to the fields inside the yellow border and click “Save And Close”:

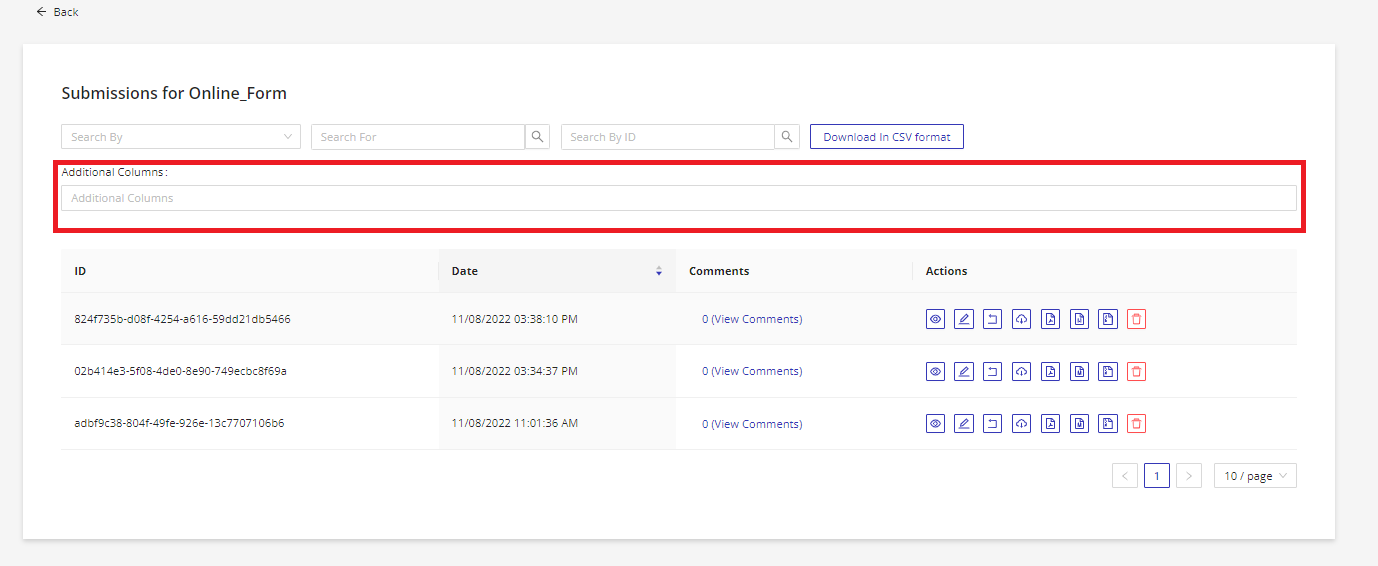
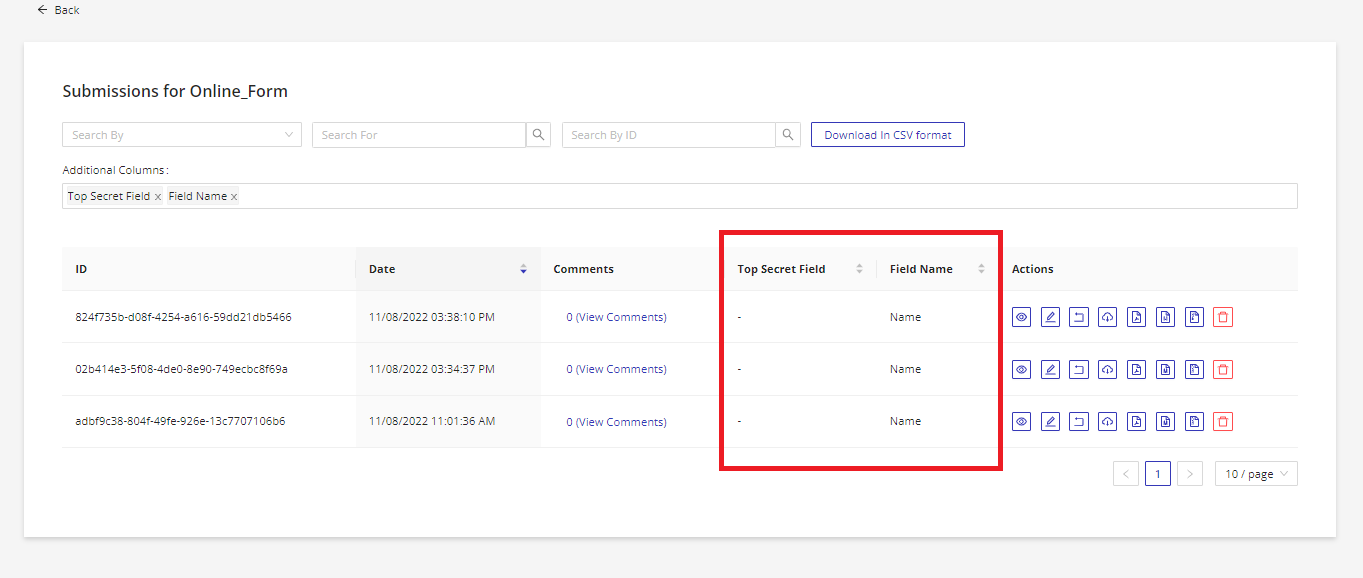
Hint! To make it easier to find submissions, click on the “Additional Columns” section and add the last name or other information that allows the Internal User to quickly identify the submission to be finalized.
How to customize notification messages for form submissions
Step 1. Go to Form Settings->Email Notifications tab:

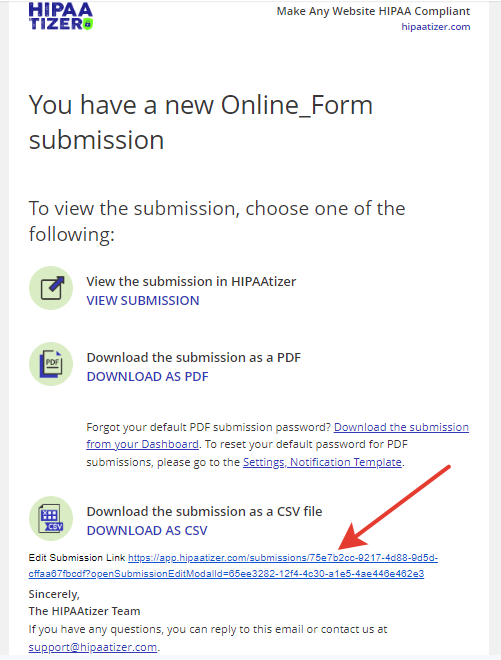
Step 2. Here, the “Edit submission link” option enables the Internal User to add a link to the notification email template:

Step 3. So when an Internal User receives a submission notification email, they will be able to click on the link that leads to the “Edit Submission” window where they will be able to fill out the internal information:
Still have questions? Contact us