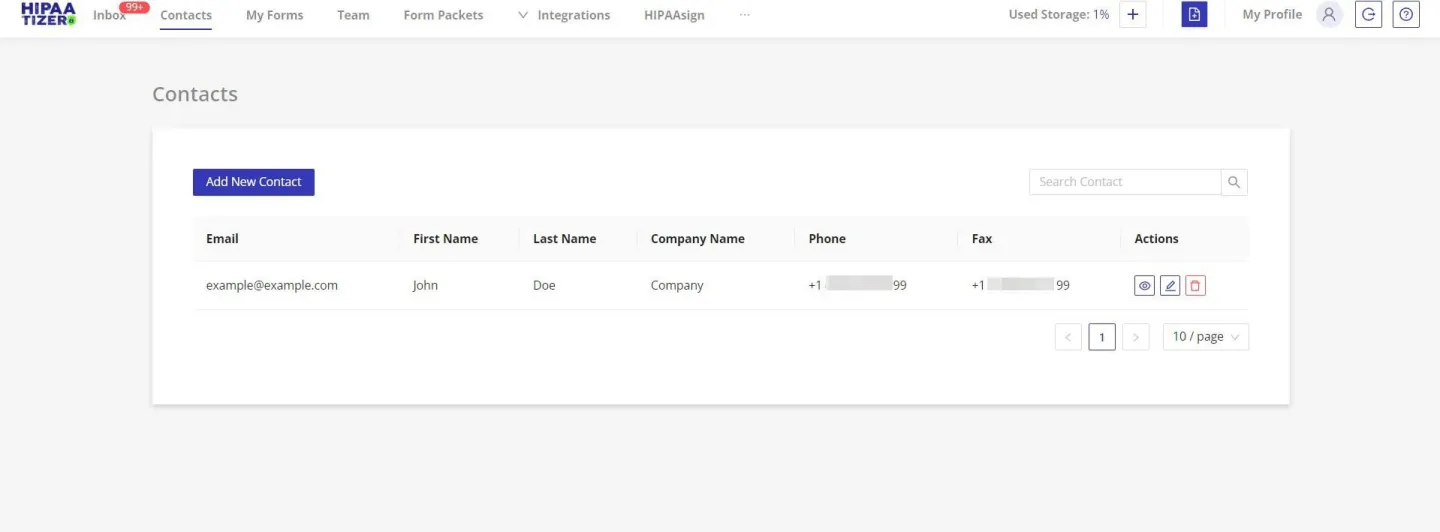
To create a contact for secure communication via HIPAAtizer, please follow the steps below:
- Log in to your HIPAAtizer account. In your dashboard, select the ‘Contacts’ tab in the navigation bar.

- Click ‘Add New Contact’ in the top left corner. In the modal window ‘Create Contact,’ fill all the relevant fields and save the changes. While only an email address is required to create a Contact, the more data you add will make it easier to find and sort your clients as your Contact list grows.


- After creating the Contact, you can review, edit or delete it using the buttons found under ‘Actions’.

To automatically create a Contact, you must turn on ‘Enable Associate With Contact Settings’ checkbox in Form Settings -> Associate With Contact Settings and specify at least Contact Email field on the form.
All new form submissions will then automatically create Contacts, and the email field (as well as the first name, last name, phone, fax, company name fields, if they are on the form) will be automatically populated under Contacts.
For more detailed information on automatic contacts, please visit our tutorial on How to set up Contacts from a form submission.
Still have questions? Contact us